Ciao Bella! Overdenture dall'italia
Luca Cattin
In highly developed societies the young are becoming fewer, the older and elderly are becoming more. And, as this case study shows, Italy is no exception. Taking a look at »Age« is equally interesting for both dentists and dental technicians. According to Eurostat, the birth rate 2015 in Italy was 1.35 children per woman, and 1.2 in Germany. For the same year, life expectancy in Italy was 84.9 years for women and 80.3 years for men. This was slightly higher than for Germany with 83.1 years for women and 78.3 years for men. The 70-year old female patient who wanted a prosthetic restoration of both her edentulous jaws, therefore belongs to the growth group »65 plus«, and not only in terms of Italian society. At 21.7% (2015) the percentage is only 0.7% higher than in Germany. The growth of the group »older and elderly« has long become routine in the core EU countries, and meeting the demands of the immediate postwar generation who rebuilt their countries and created prosperity, implies greater expenditure than for comparable generations before. And although she has long since arrived at the dentist‘s chair, she now wants dentures at an up-to-date level to bite and chew better, but also to look good at her age.
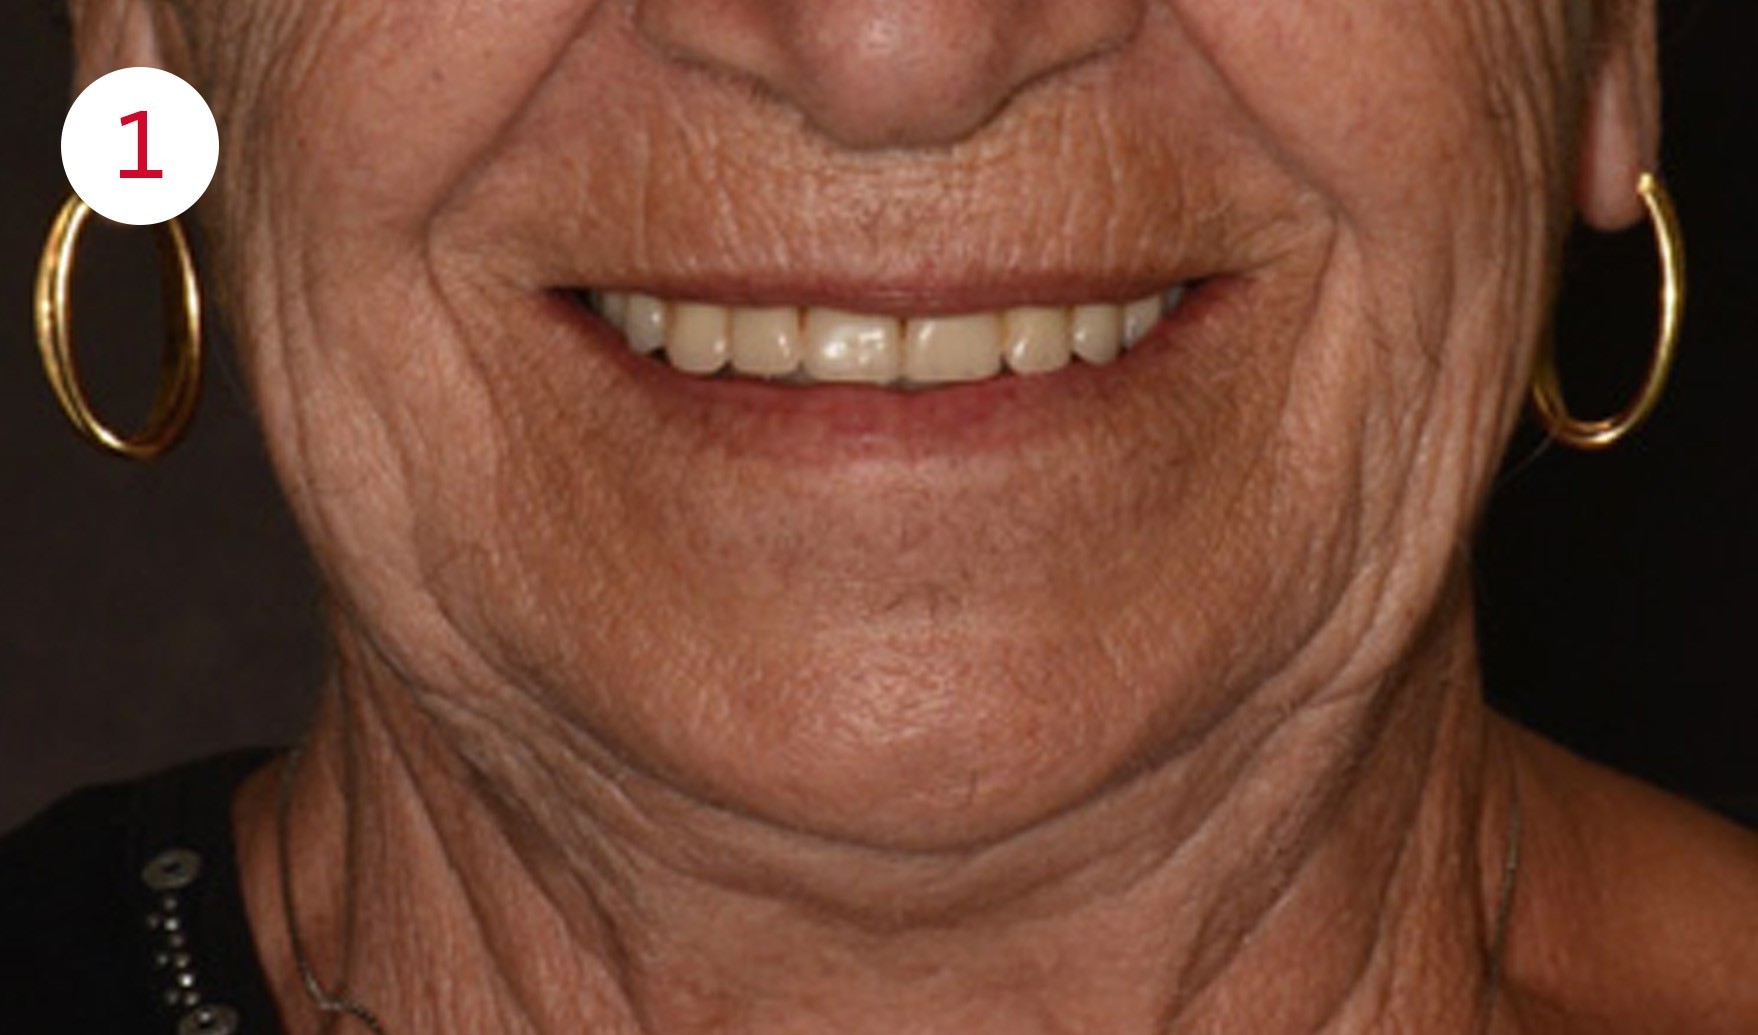
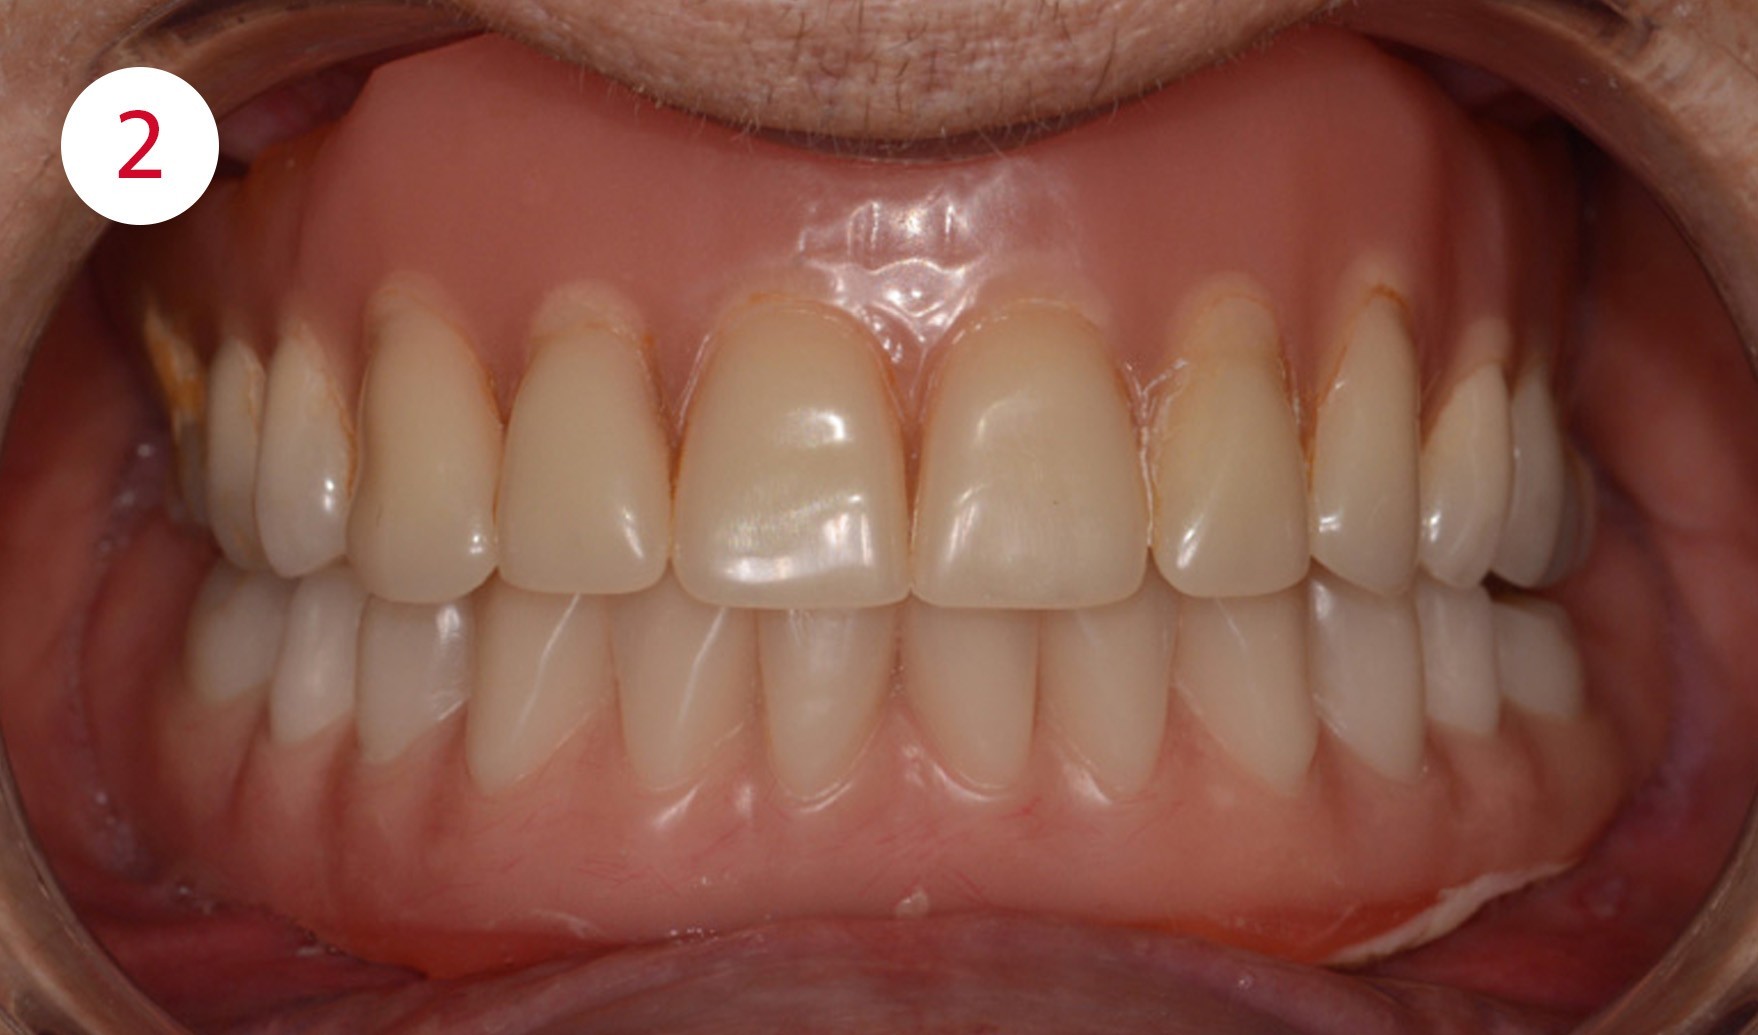
The energetic 70-year old with purely mucosa-supported full dentures complained about the poor fit of her lower dentures and the corresponding restricted function, which was due to a considerably varying occlusion profile on both sides, including a dysfunctional acting »groove position« of the molars. Furthermore, the patient was dissatisfied with the unattractive esthetic appearance of her upper anterior teeth as well as with the design of the vestibular prosthetic components. She wished for »prosthetic gums« with a natural appearance and a return to the smile she once had.
After a thorough medical history and diagnosis, the treatment team decided to propose a mucosa-supported overdenture in the mandible, retained on four implants with ball clasps, and a new, purely mucosa-supported full denture for the maxilla. Due to the good general health status of the patient, of which she was aware, she decided on this prosthetic solution which involved frequent treatment sessions. Esthetics and function were worth it in her opinion.
Fig. 1+2: Initial situation
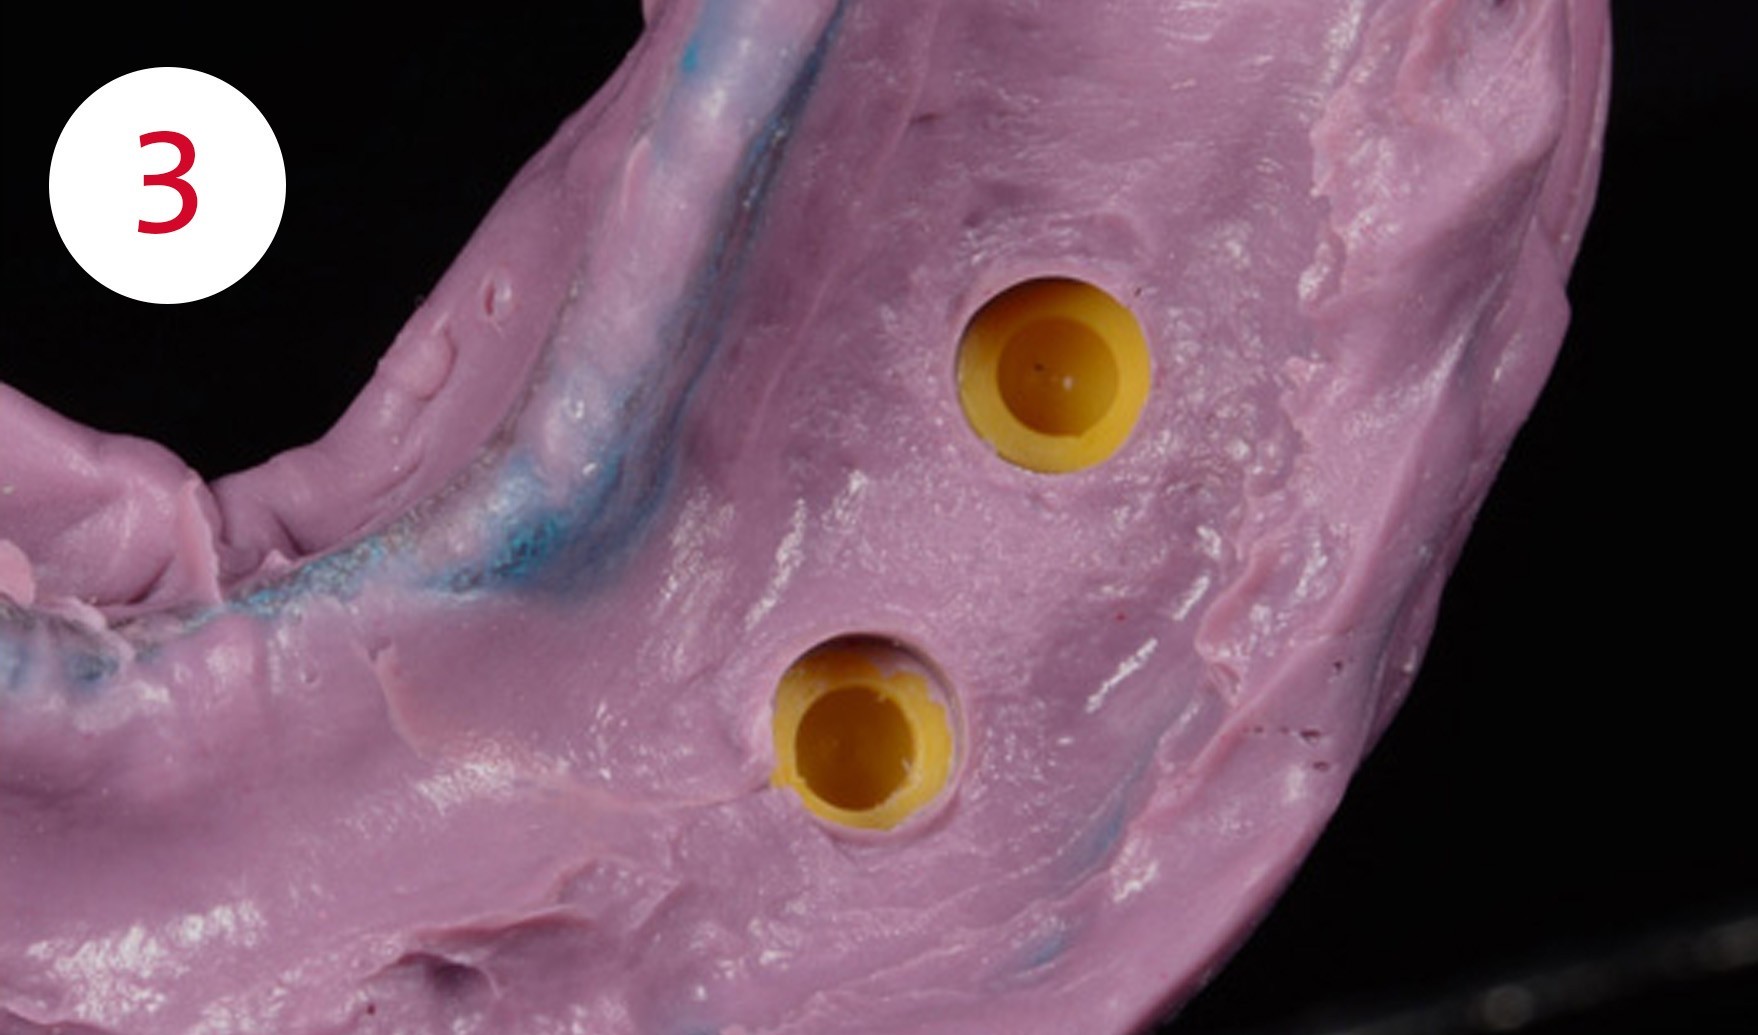
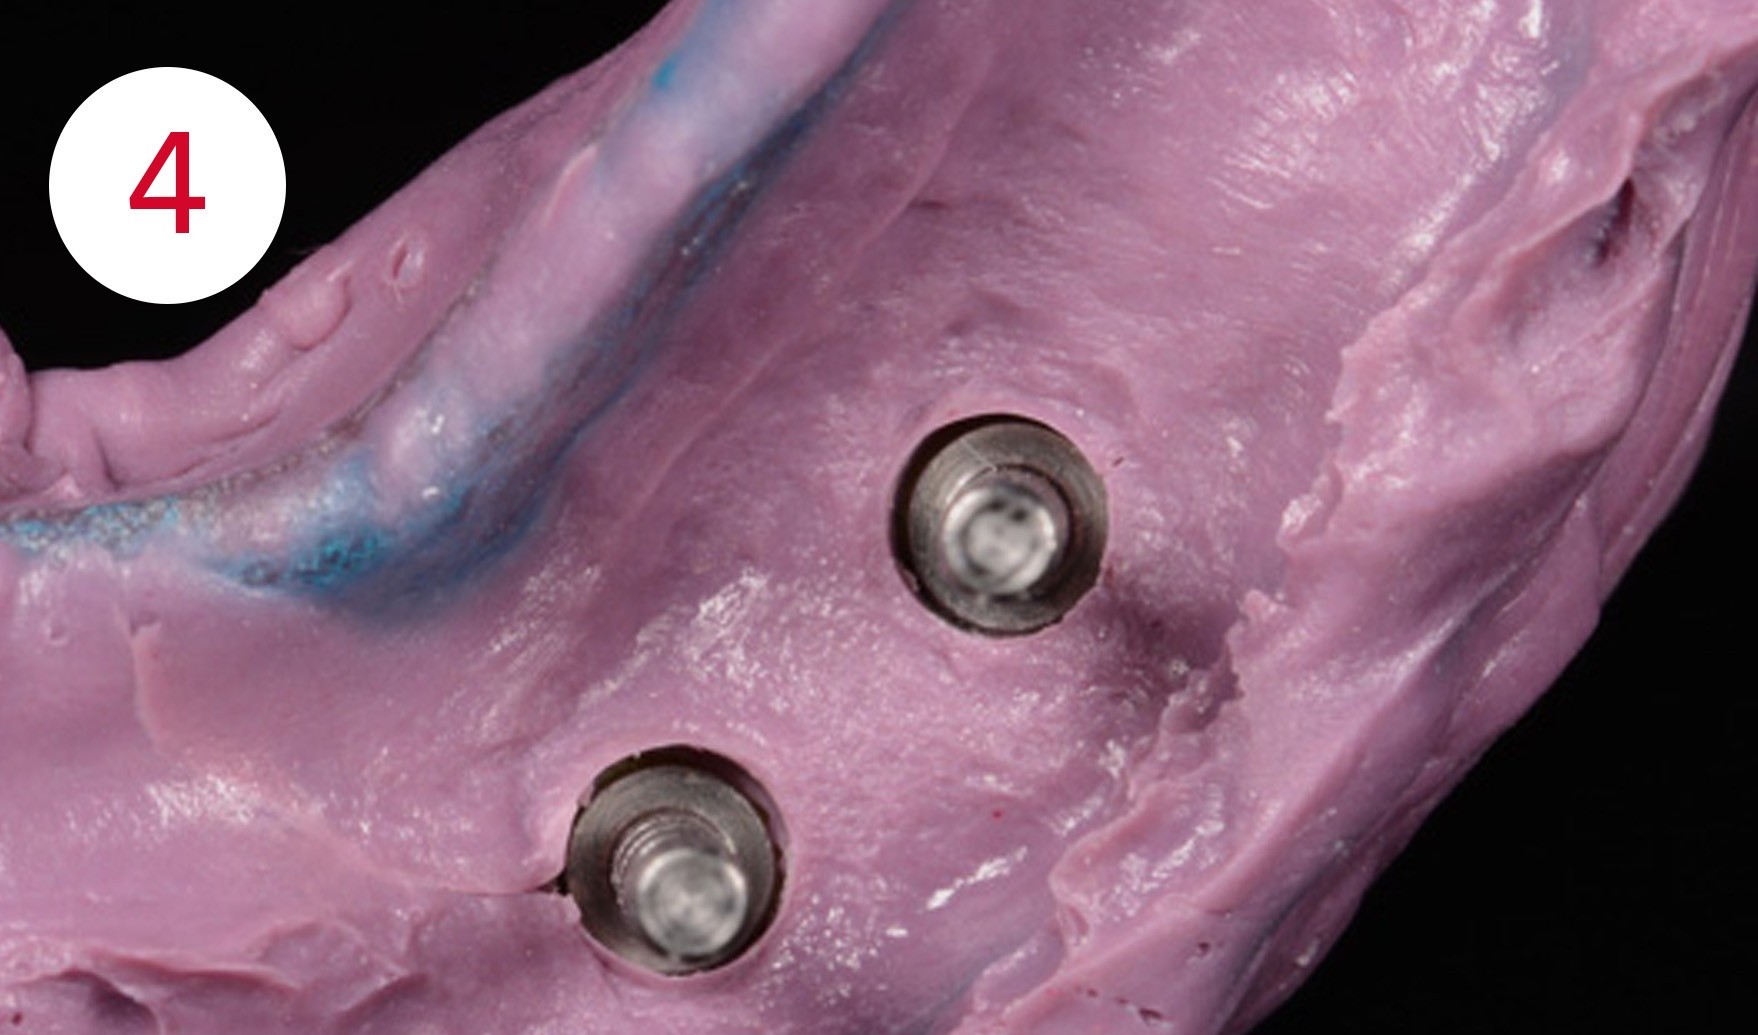
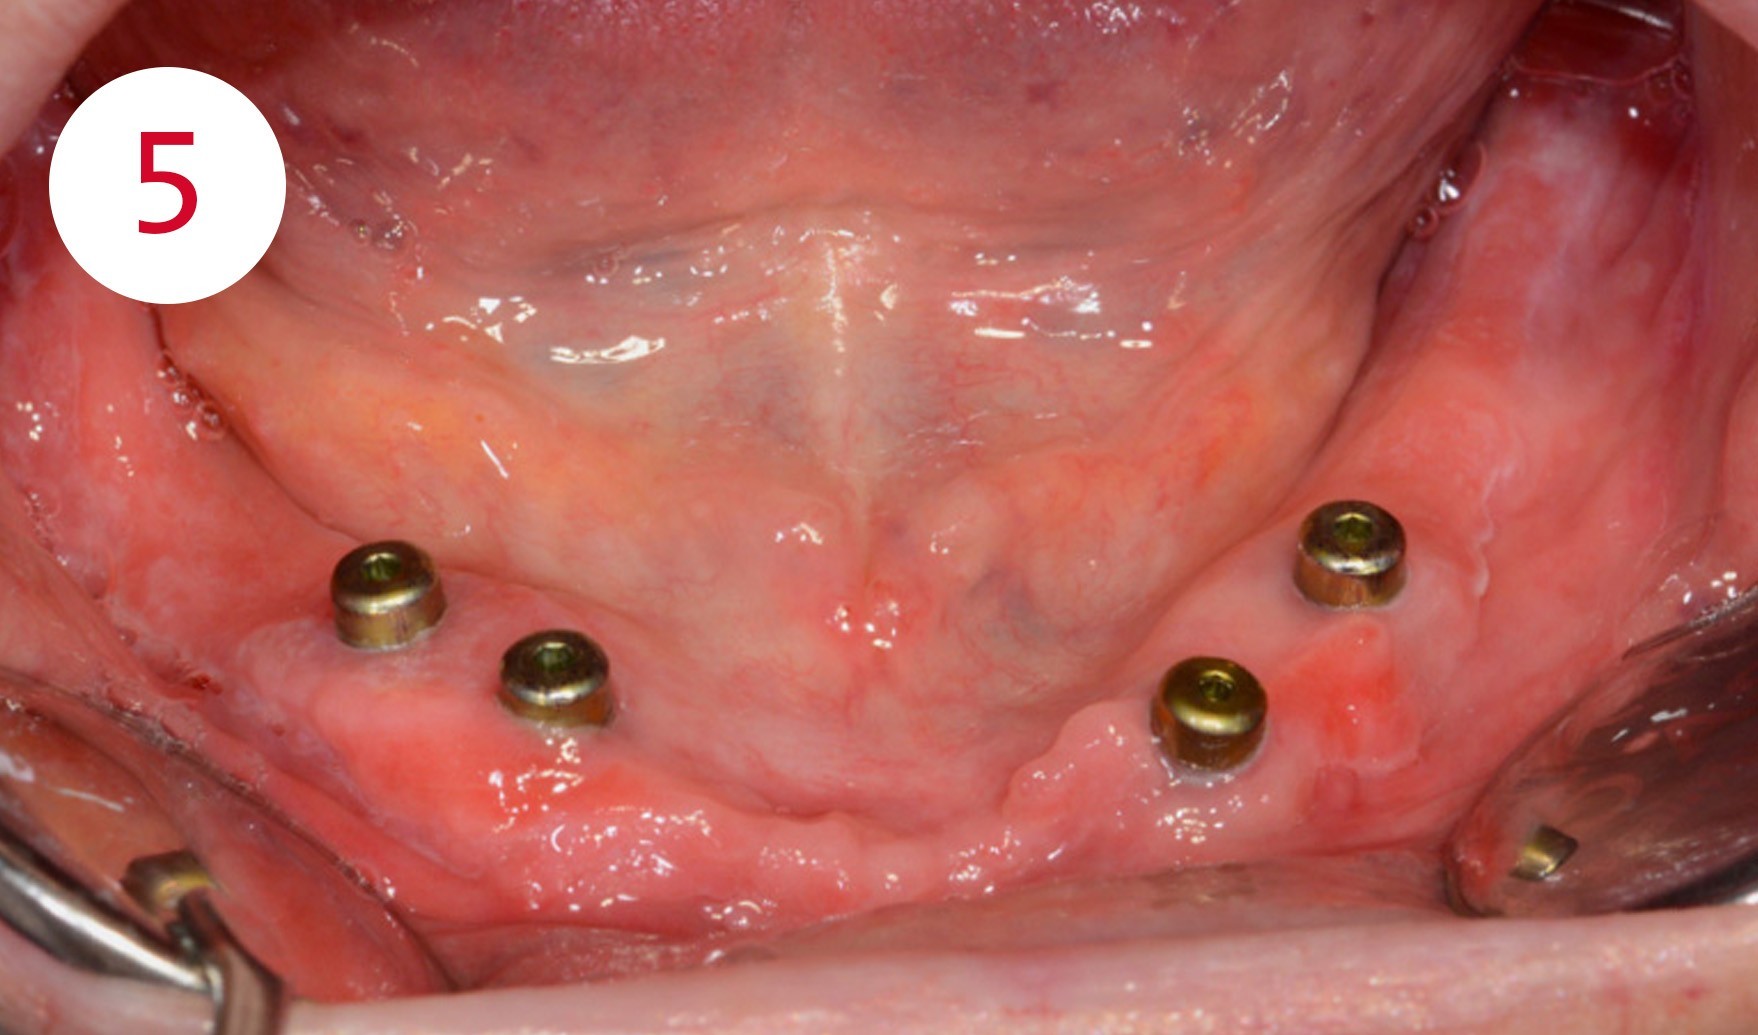
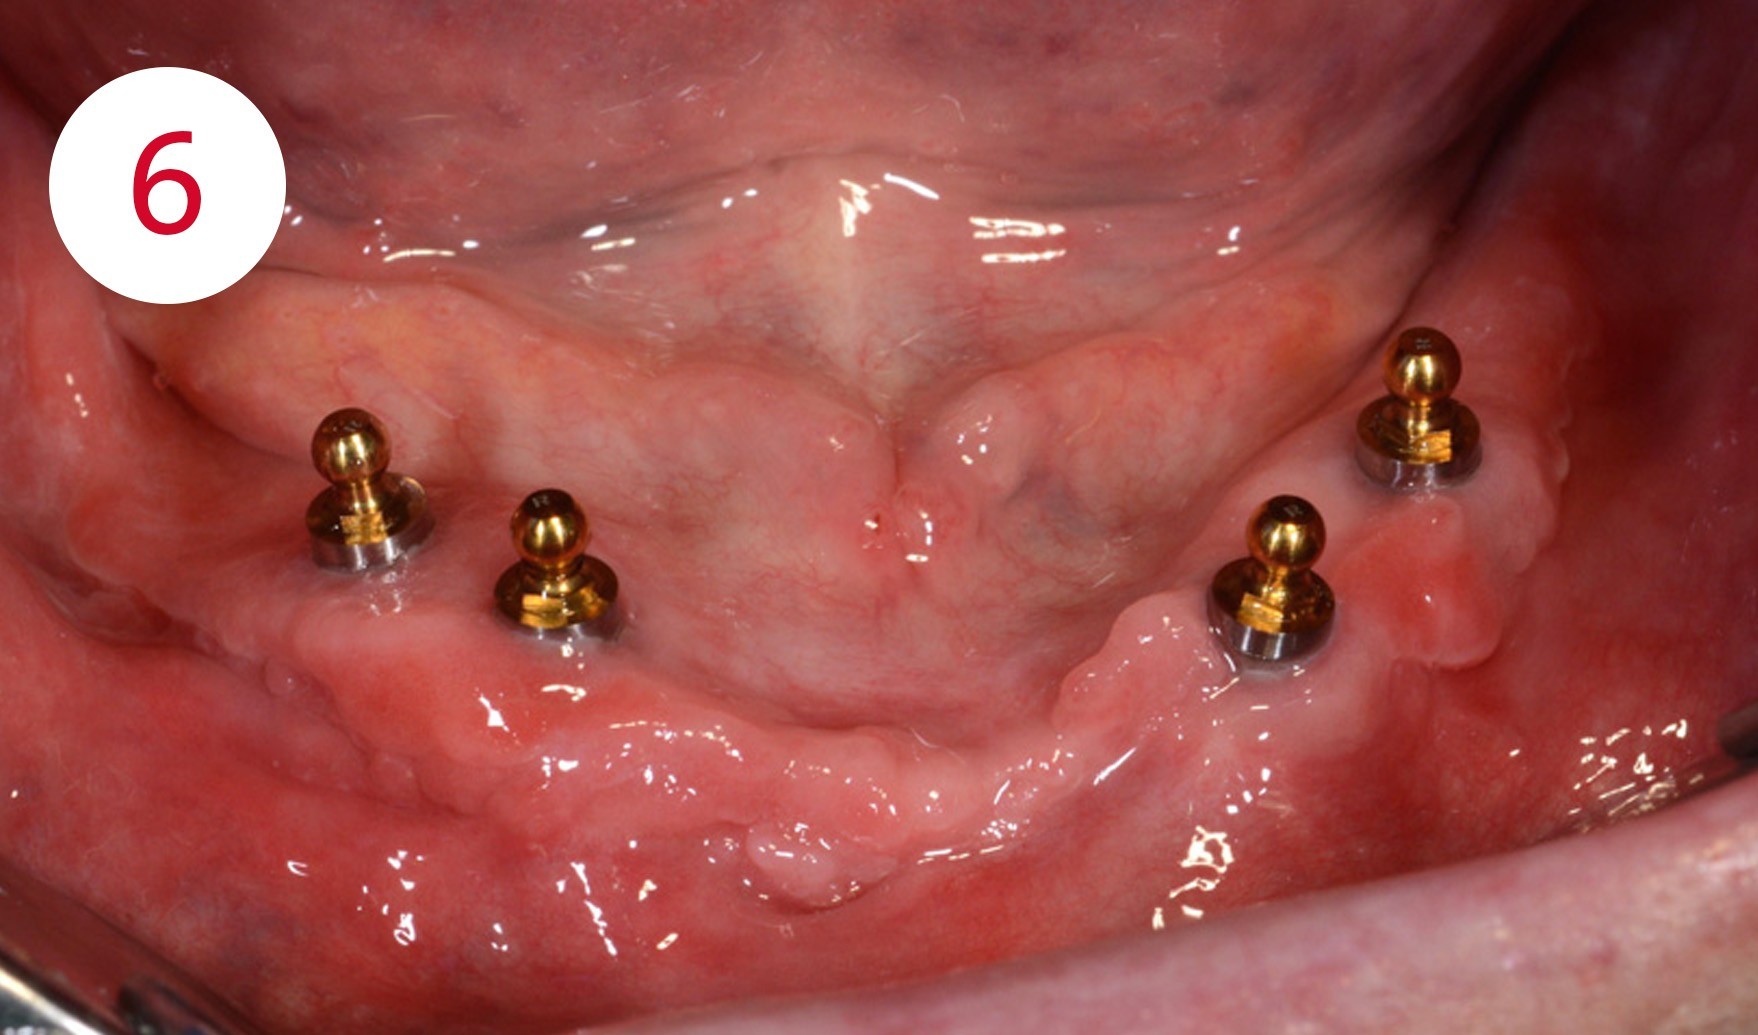
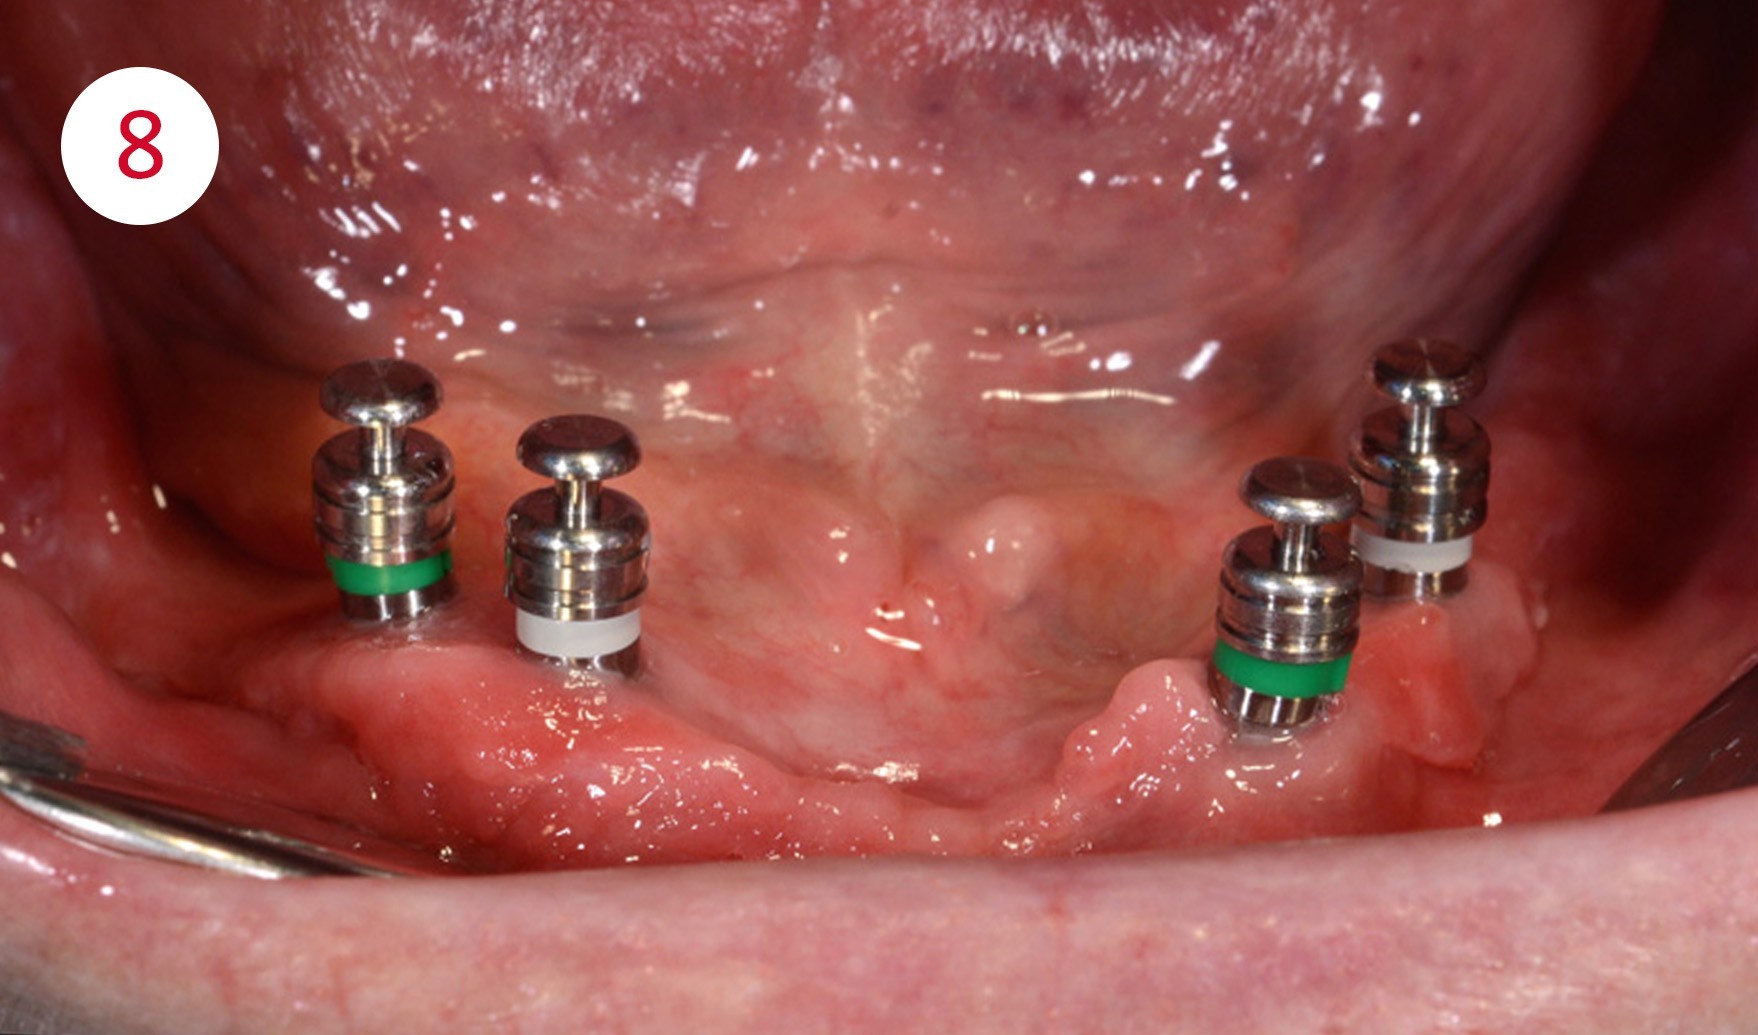
Shero Block Normo abutments by Rhein '83 were screwed onto the placed implants and shaped in situ for individual tray preparation. The two existing full dentures were duplicated to give an orientation for the analysis of the actual and the target situation. The existing lower full denture was to be worn during the implant healing phase and was therefore lined with a soft prosthetic base acrylic. Resident plaque occurred during the healing phase, but this was detected quickly and after specific hygiene instructions from the dentist, the patient was able to remove these herself after a short period using a soft toothbrush and gum massage.
Fig. 3+4: Impression without and with inserted model analogs
Fig. 5+6: Unfortunately resident plaque during the healing phase, but which was remedied quickly
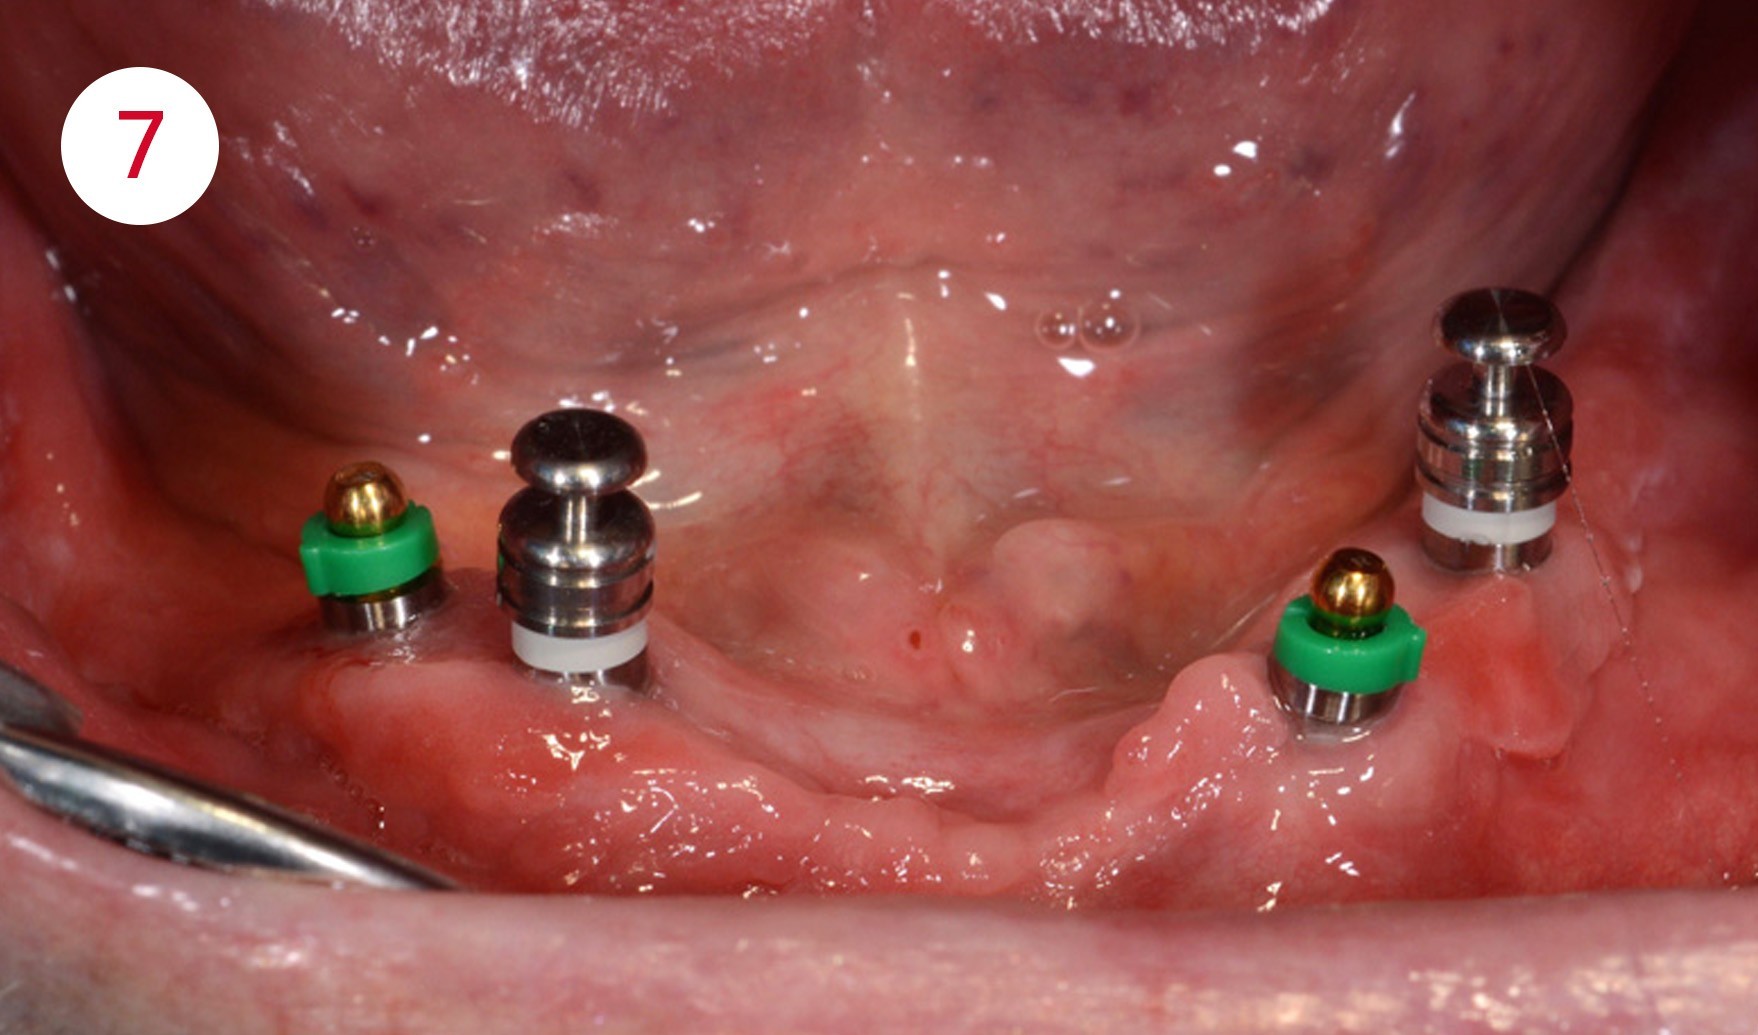
Impression taking of the maxilla was performed with the individual tray with alignment rings on the implants for adjustable and parallel transferability. The bite plates were given stable, torsion-resistant acrylic bases with initially medium dimensioned wax walls. The upper bite plate was paralleled to the Camper‘s plane using a bite fork and the reference plane registration with the face bow. The adjustment and checking of the vertical dimension was performed with phonetic control as well as by considering the existing prostheses and according to anatomical physiological references for the cuspid lines, including shaping of the anterior bite walls.
Static lines were provided by a model analysis according to Prof. Gerber on the function models oriented in the articulator, so that the position of the two largest chewing units in the mandible and their transfer to the maxillary model enabled determining the position of the two main antagonists. It is just as important, particularly for implant-retained overdentures, to avoid the proglissement (protraction) named after Prof. Gerber. This relates to the forward directed impetus on the denture on tooth contact if a static and/or dynamic occlusion contact were to exist distal to the ascending mandibular ramus. No tooth is set to contact distal from this determined point, so that the remaining teeth and implants are not loosened by a forward and downward directed impetus during every closing, chewing or swallowing motion. This also avoids the risk of pressure sores in the anterior sublingual region.
Fig. 7+8: Transfer from impression via alignment rings
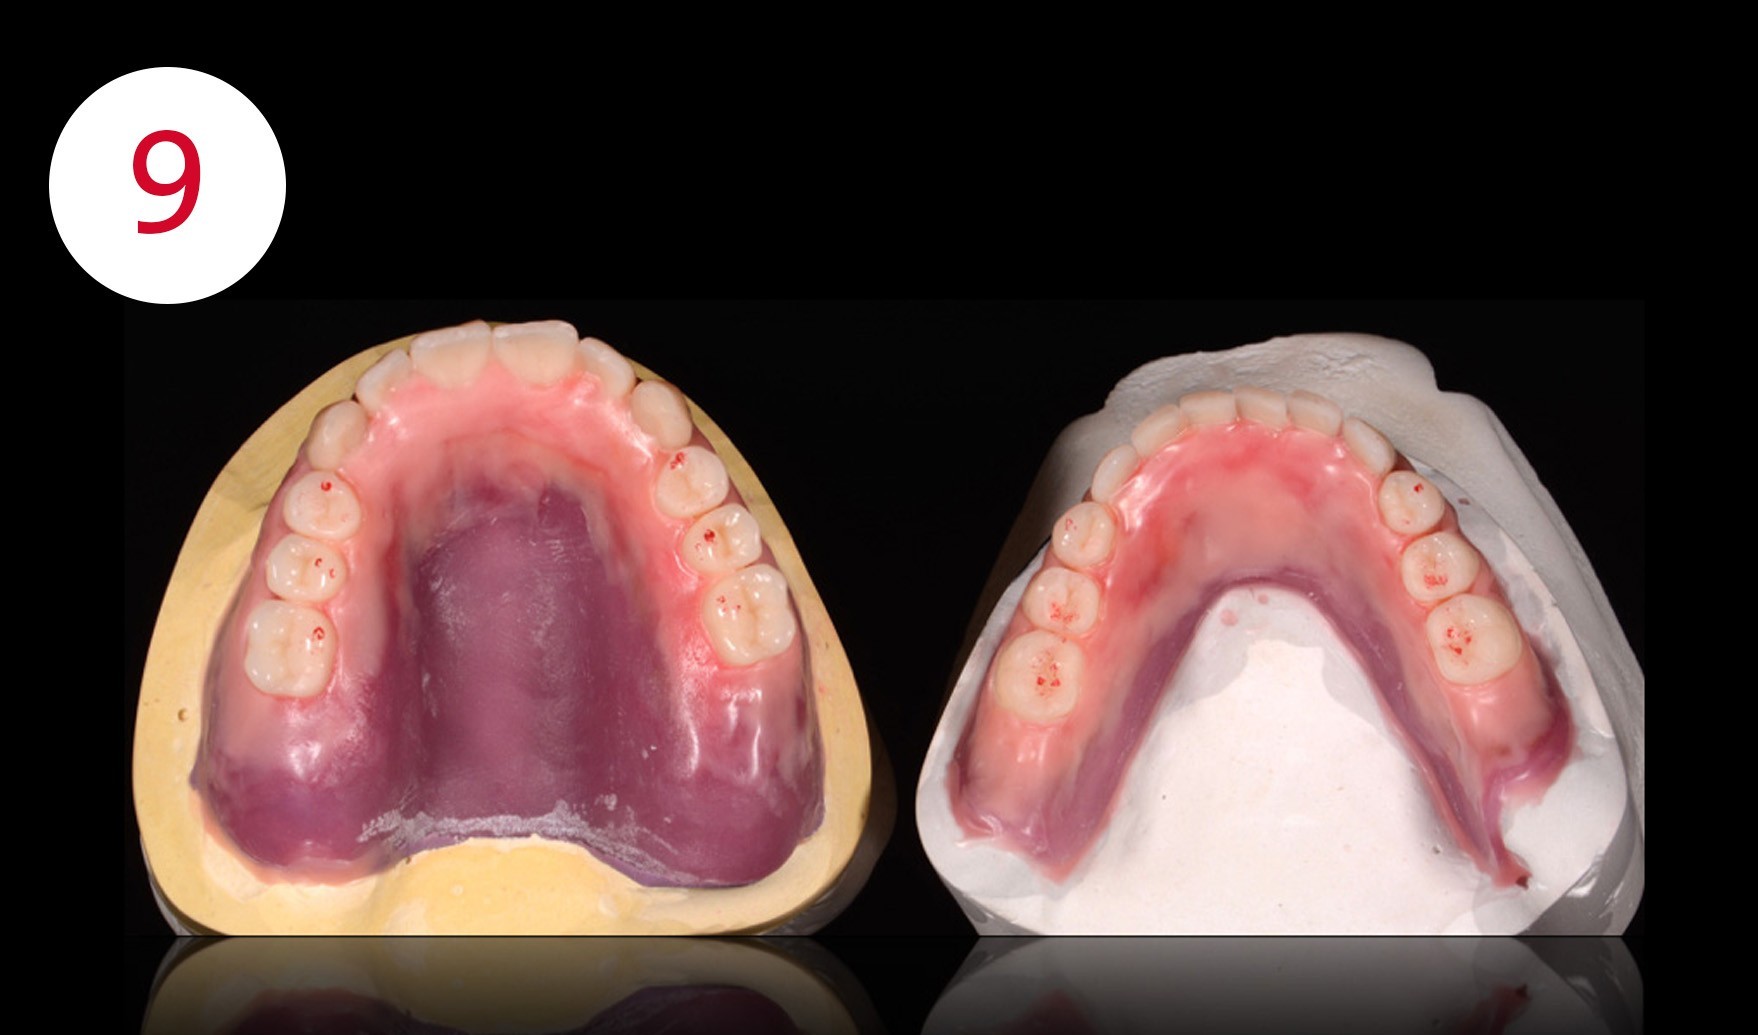
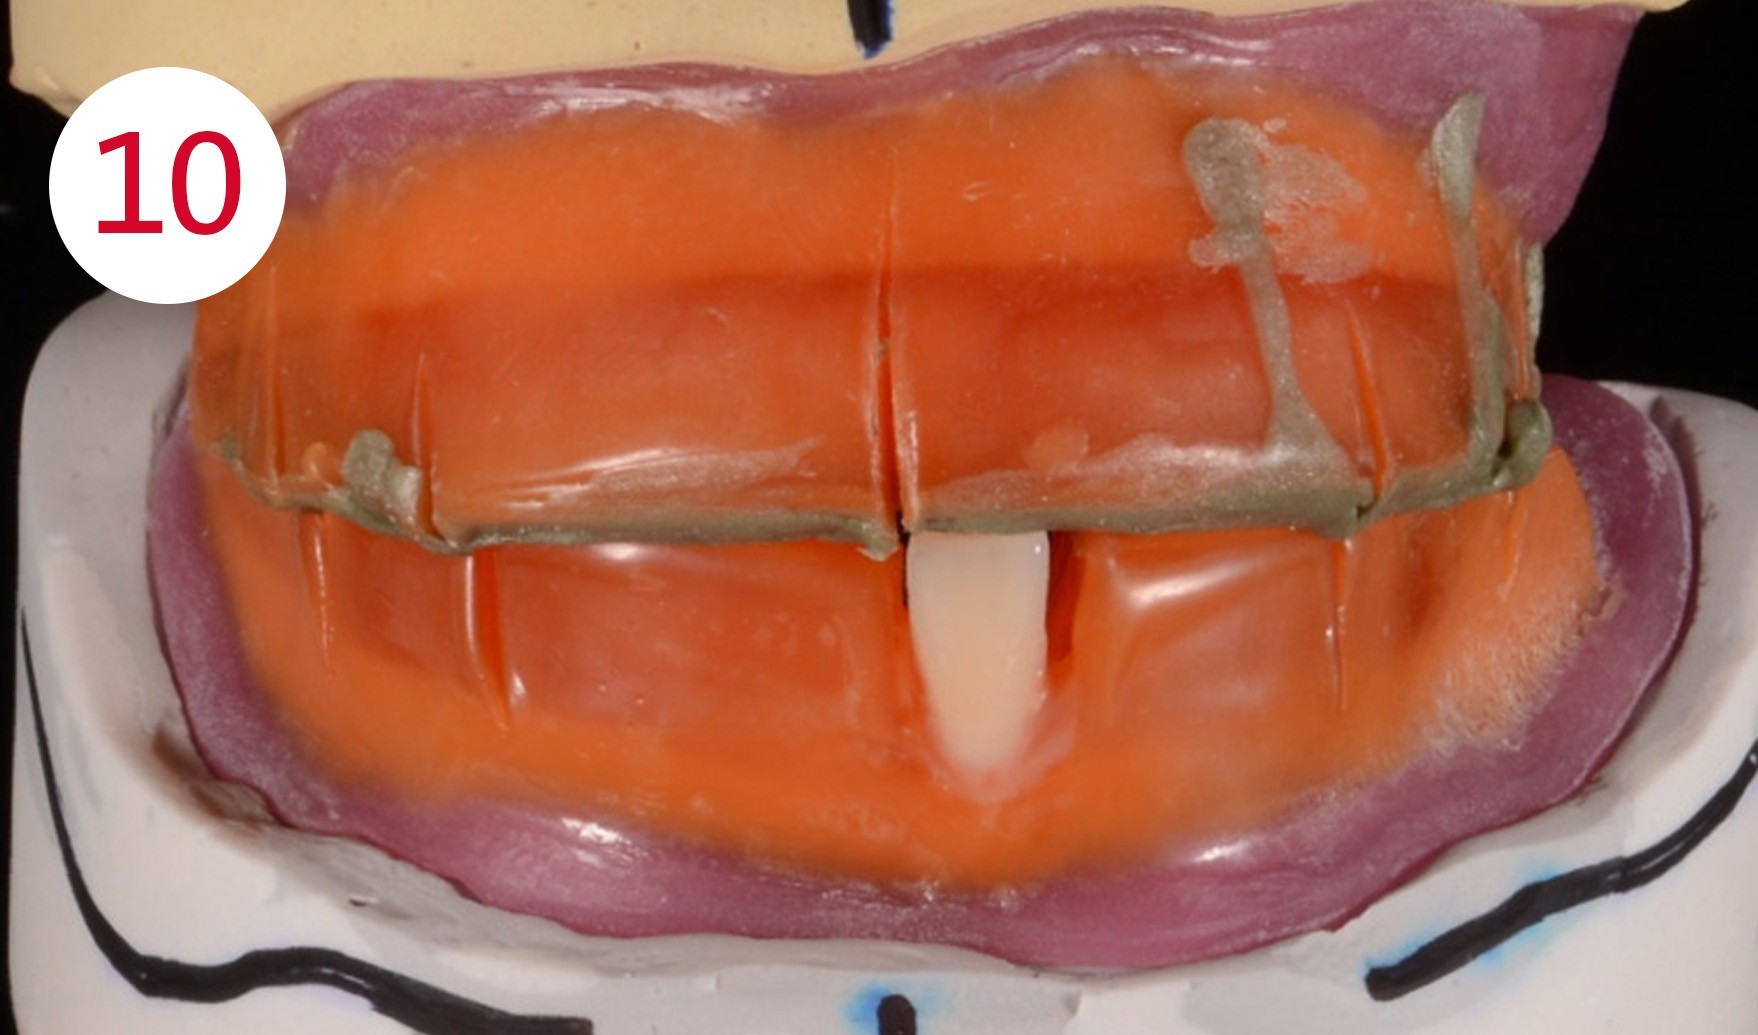
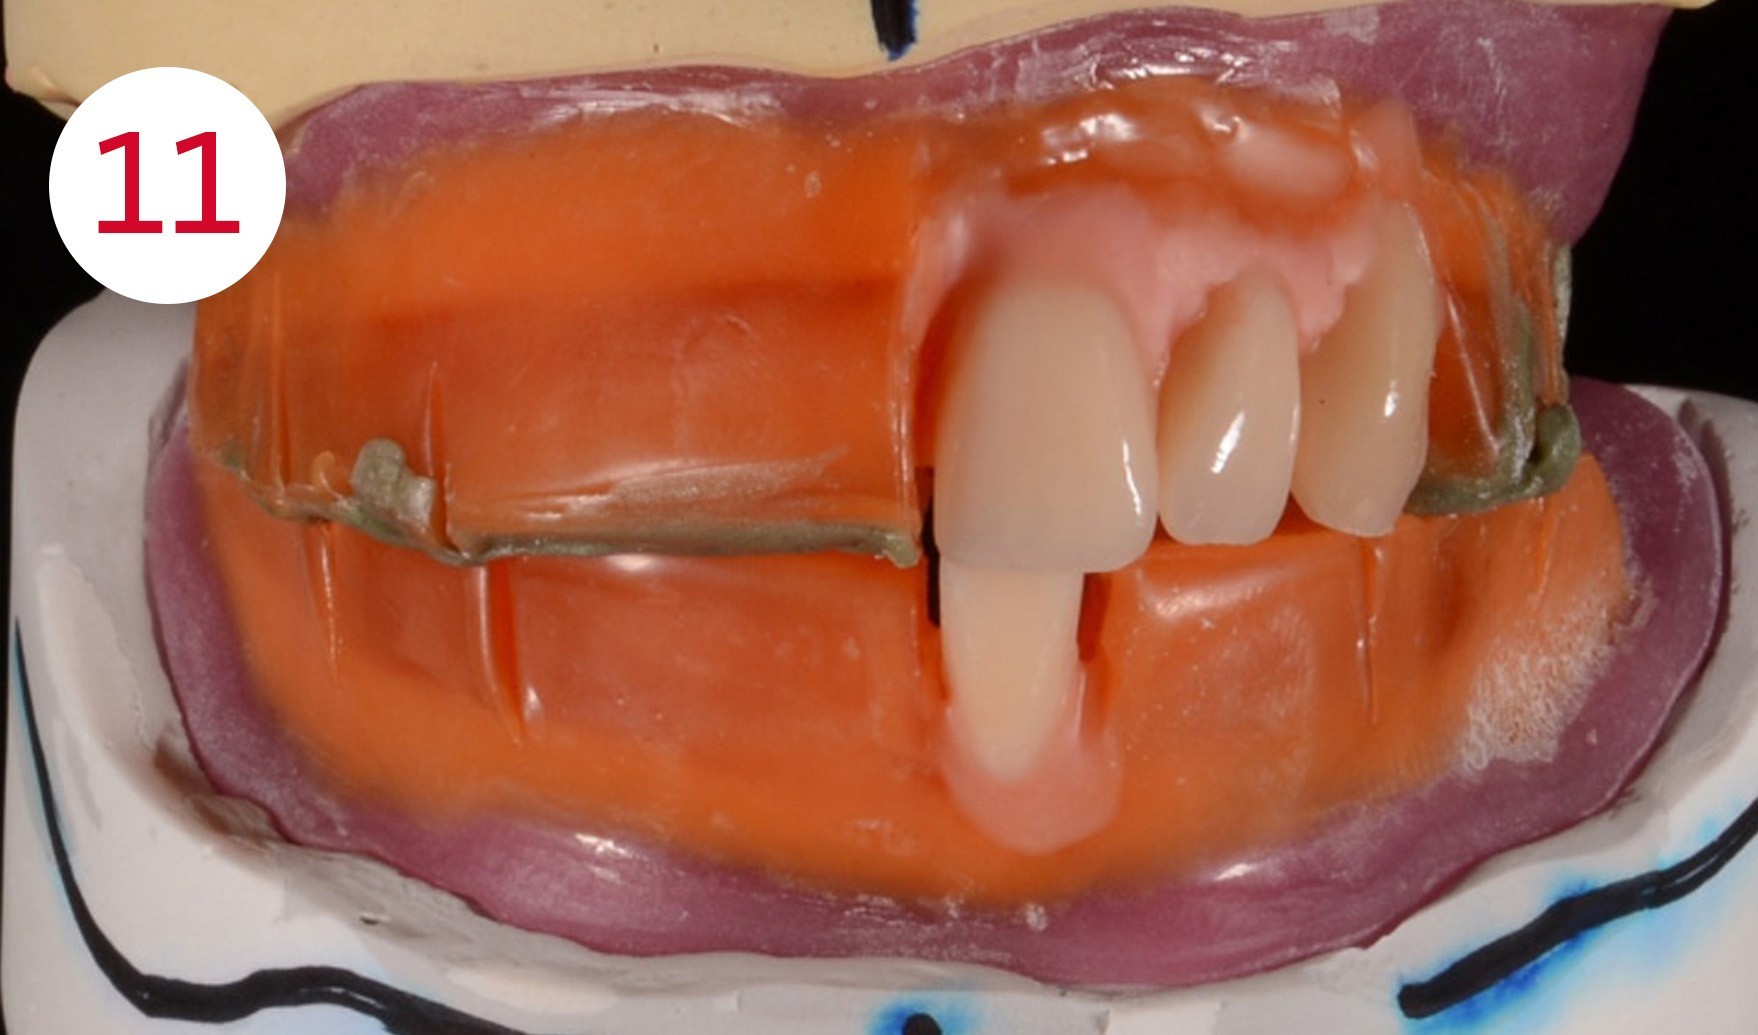
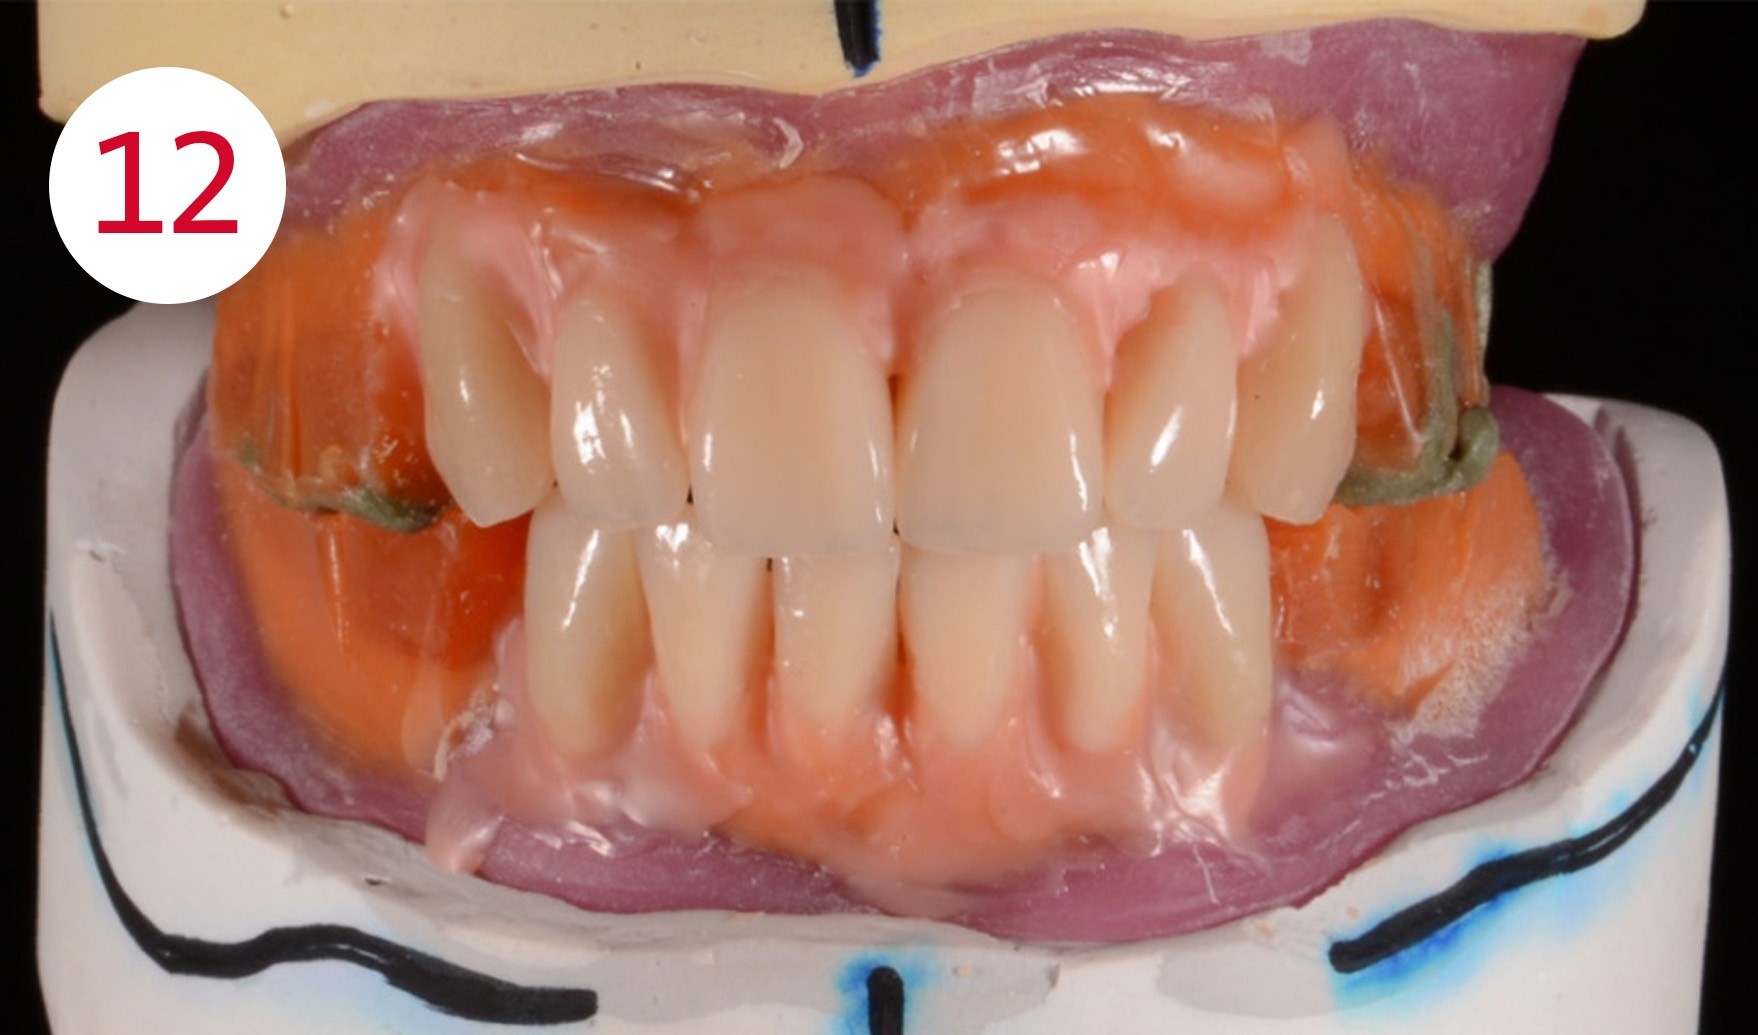
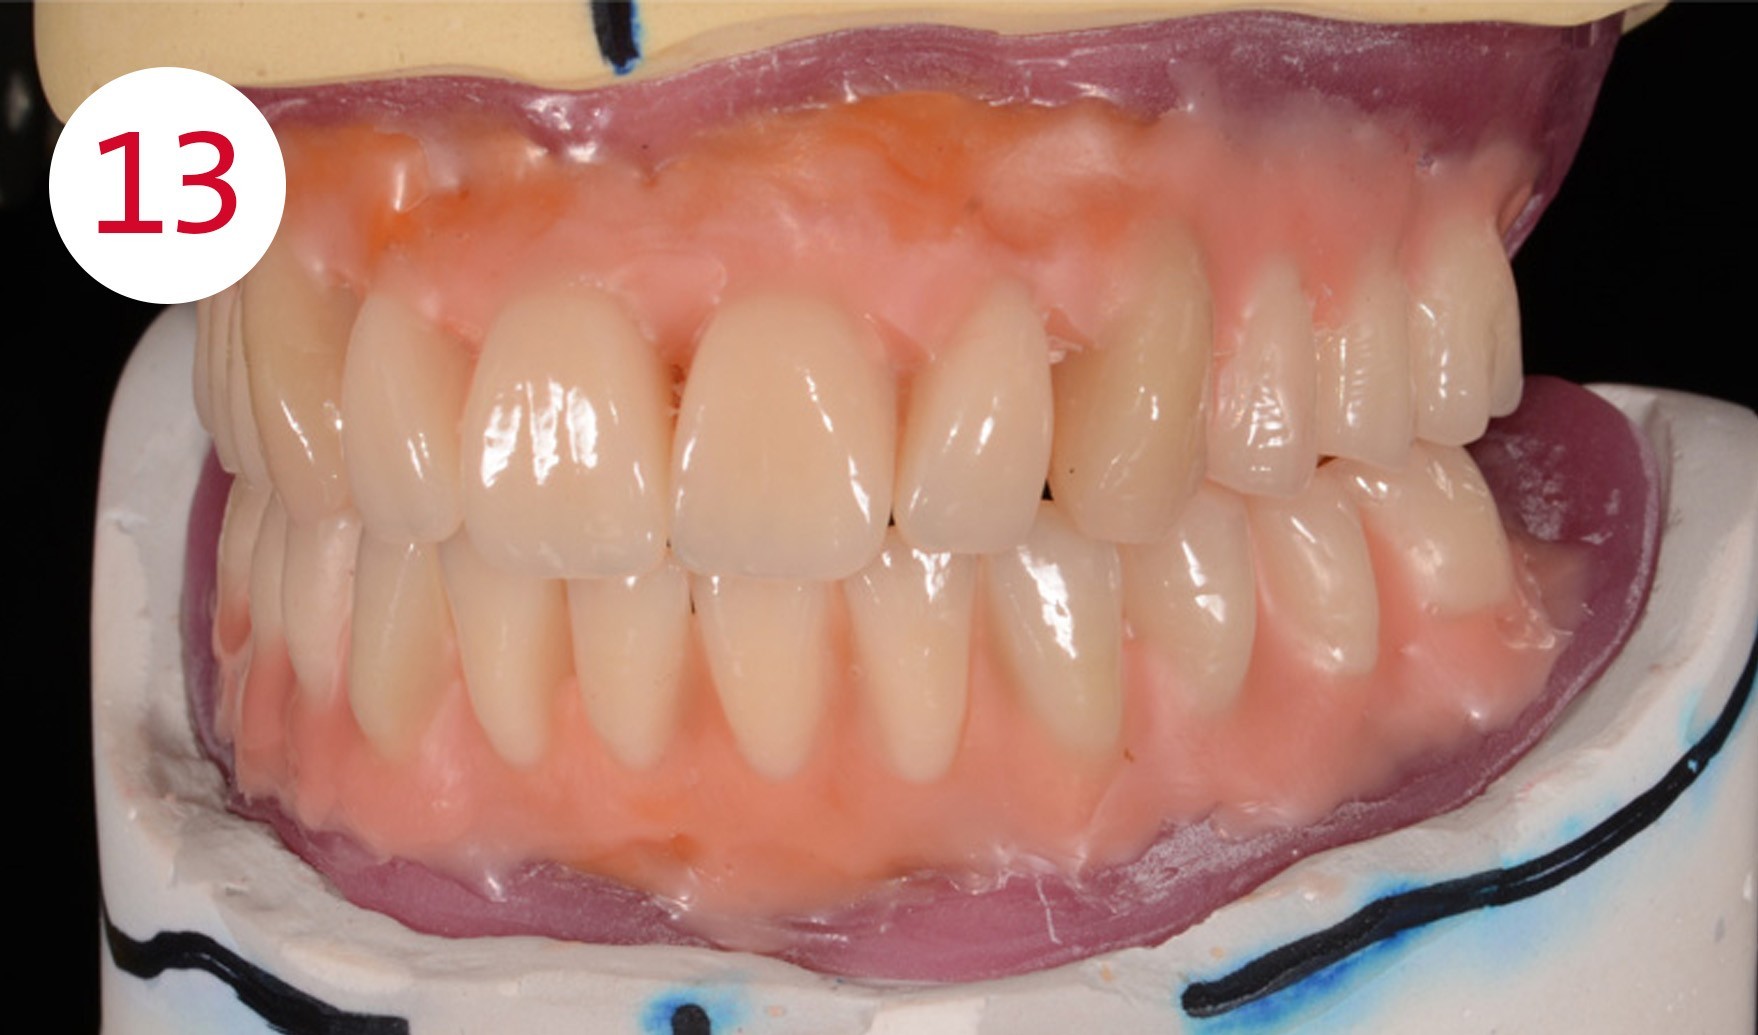
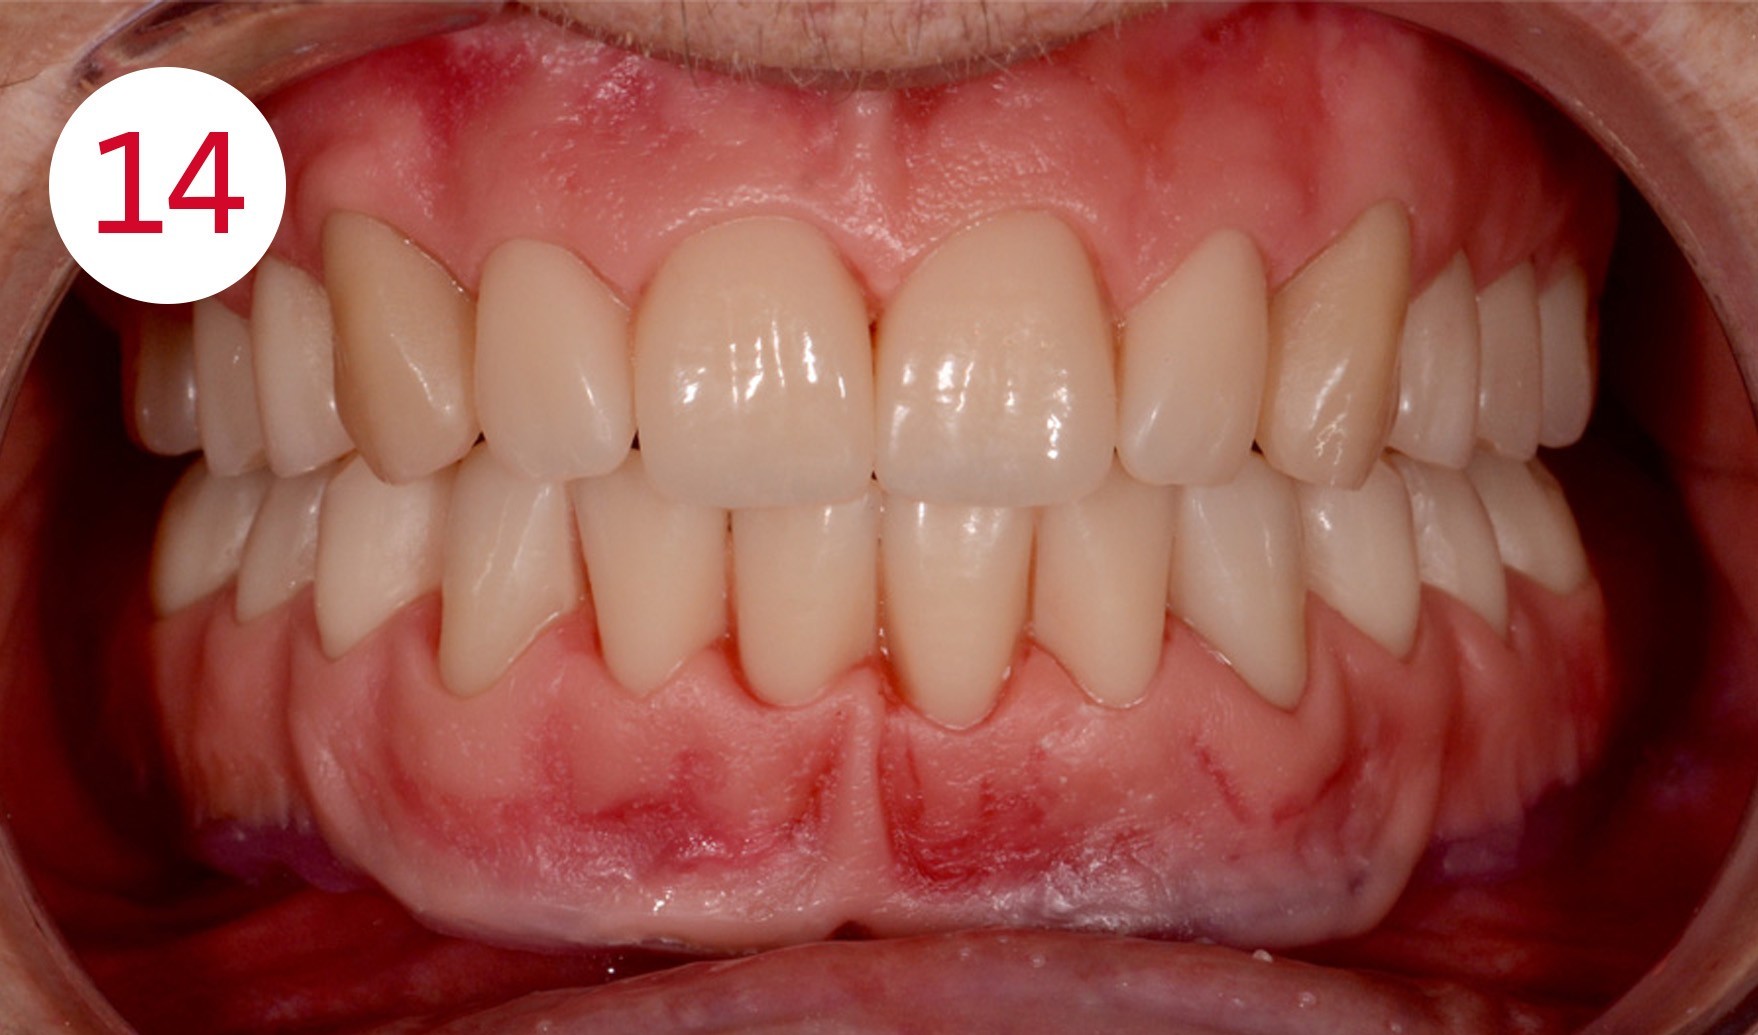
With a view to a long as possible functional life of the implants and the supporting self-centering into the habitual intercuspidation position, a decision was taken in favor of the tooth-to-tooth relationship in lingualized occlusion with the Condyloform II NFC+. Among other things, its advantage lies in loading in the direction of the implant axis as there are no A-contacts. This reduces tilting moments under static and dynamic occlusion. The PhysioStar NFC+ was used for the anterior region, both from CANDULOR. The set-up of the anterior teeth was started in accordance with the esthetic physiological markings and the phonetic forming of the frontal bite walls. This was followed by the set-up of the posterior teeth lingualized in tooth-to-tooth occlusion to achieve autonomous chewing stability for each artificial posterior tooth to support secure positioning of the prosthesis. The alveolar and cervical wax model was characterized in color for the wax try-in to give the patient a realistic as possible optical appearance of her later dentures at this time. During the try-in, minor grinding of the incisal edges was agreed on with the patient, as was slight nesting of the lower central incisors and selecting a somewhat darker shade for the upper canines. By using photos from different stages of her life and in combination with the energetic and interested involvement of the patient, we were already able meet the expectations for natural looking, beautiful new teeth at this point of treatment. Following the phonetic and esthetic wax try-in as well as the described corrections, the patient was already highly satisfied with her »new teeth in wax«.
Fig. 9: Lingualized peak and trough contacts according to Prof. Gerber
Fig. 10-13: Set-up of the teeth
Fig. 14: Check of esthetics in situ
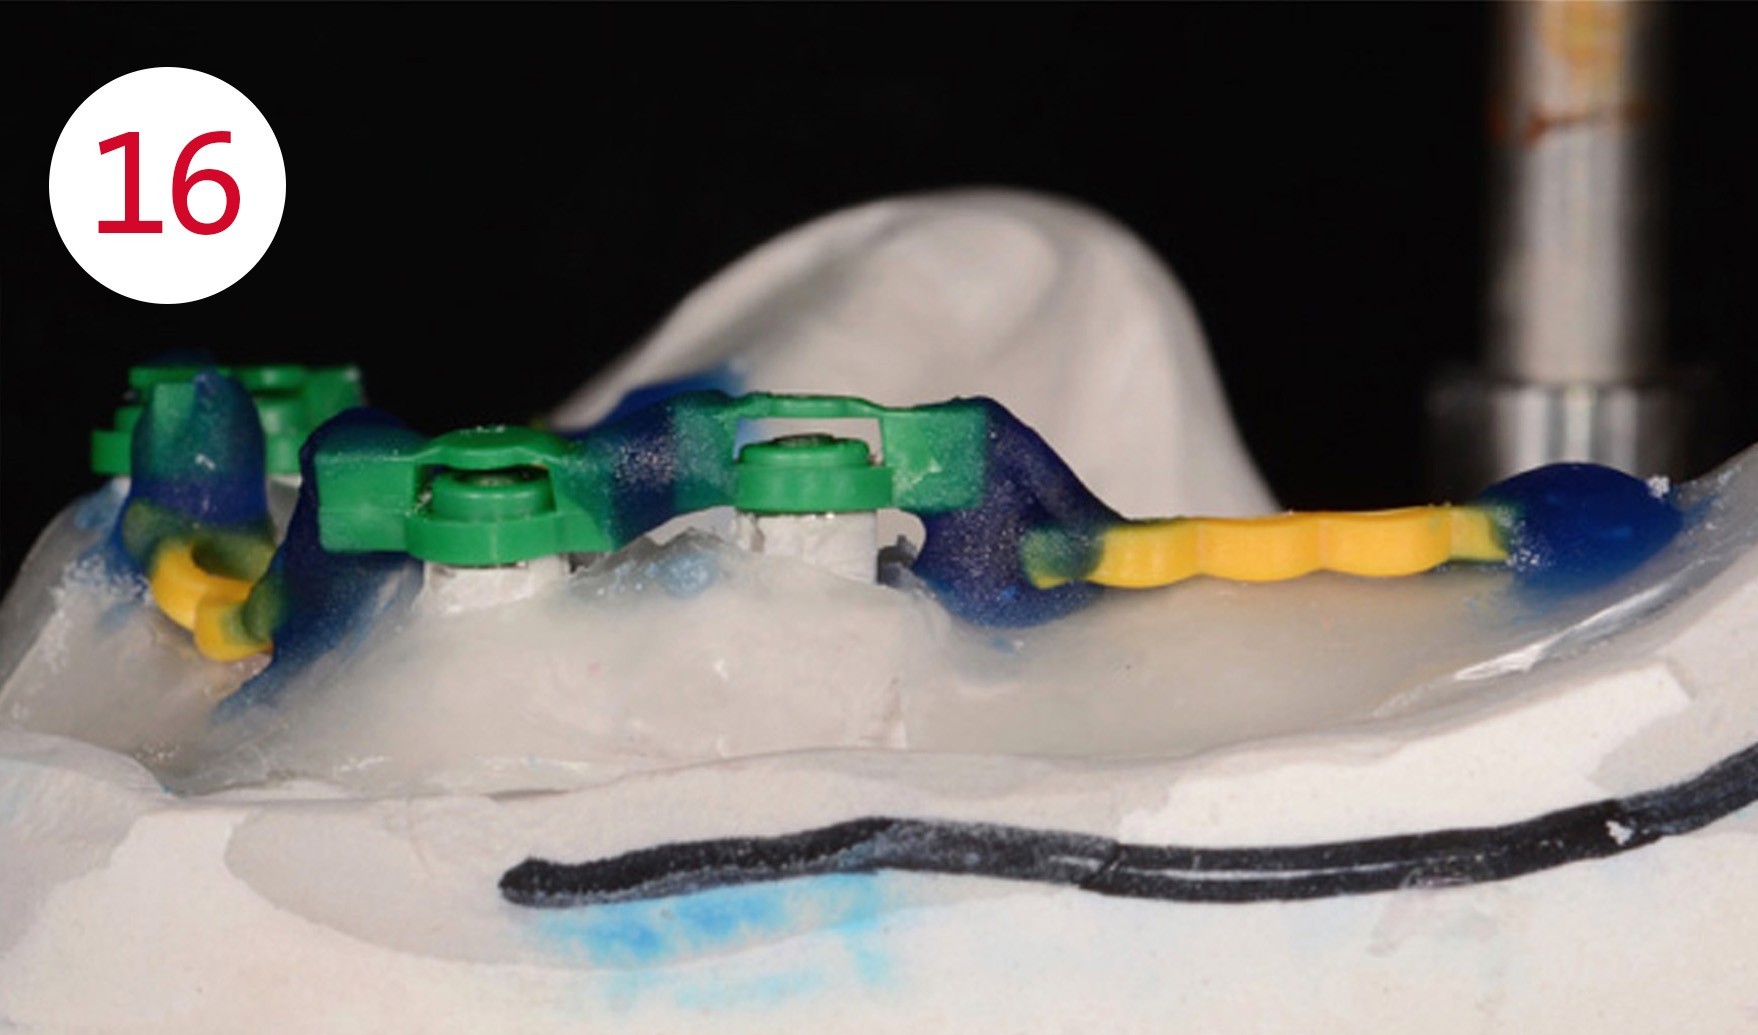
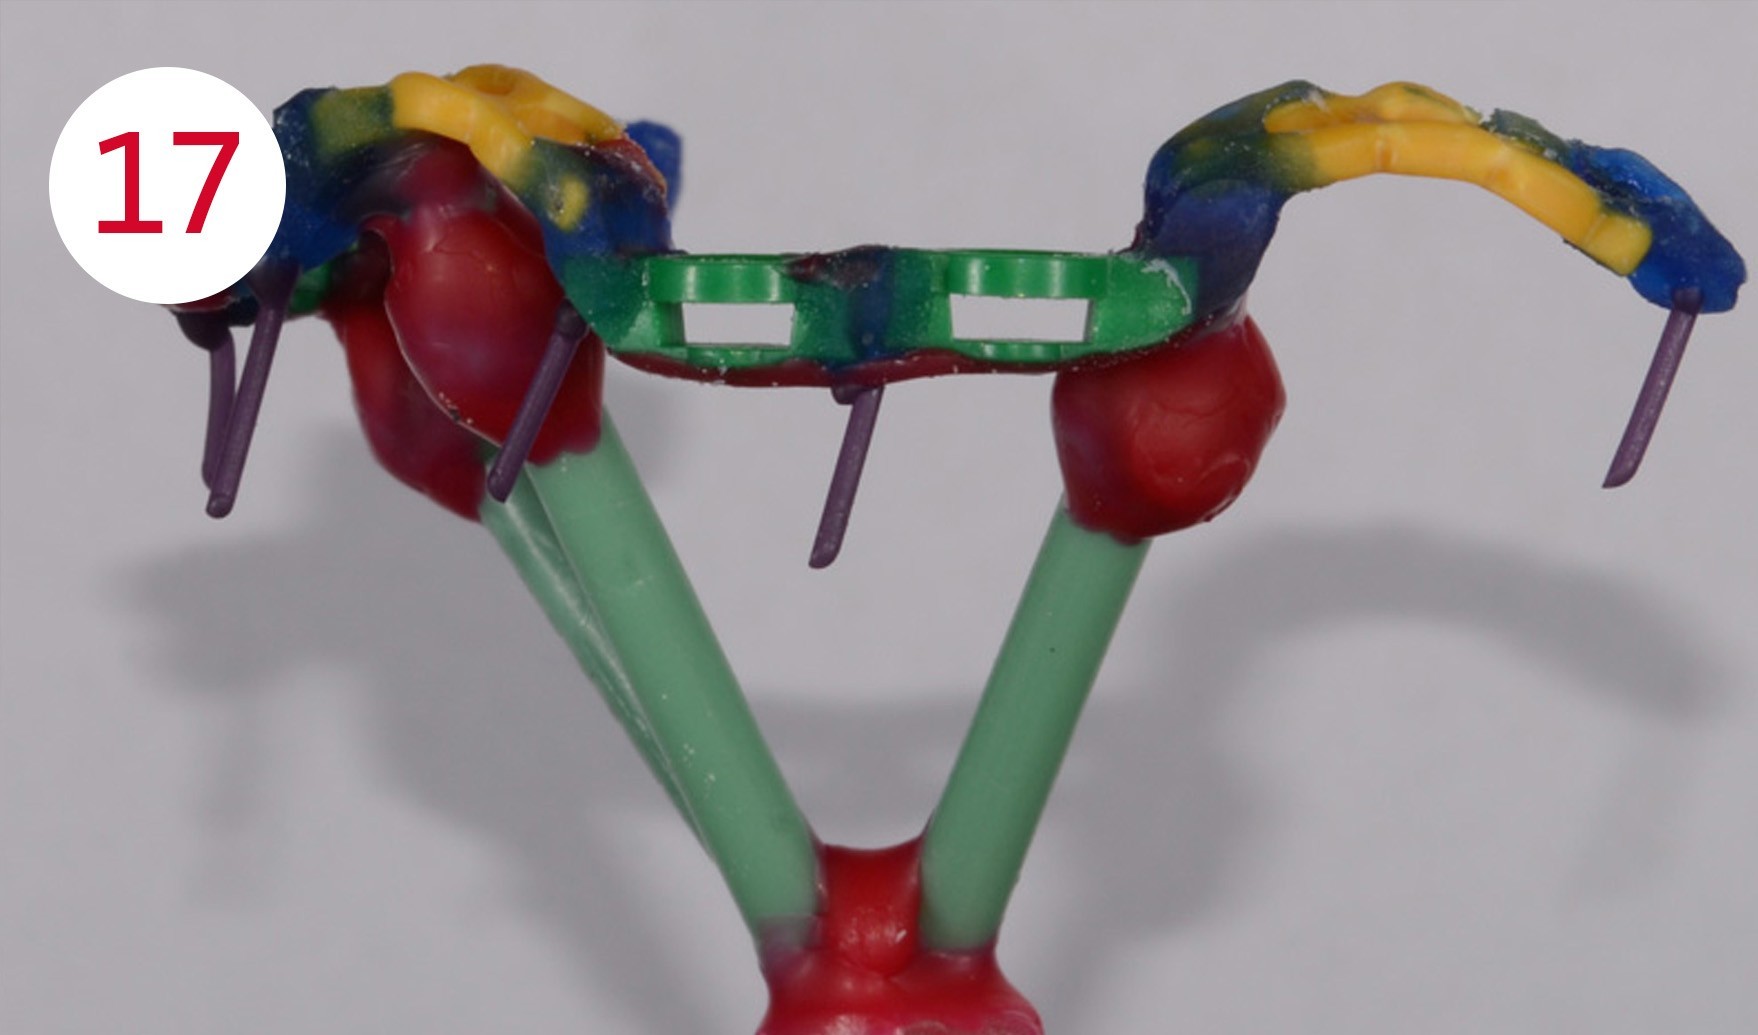
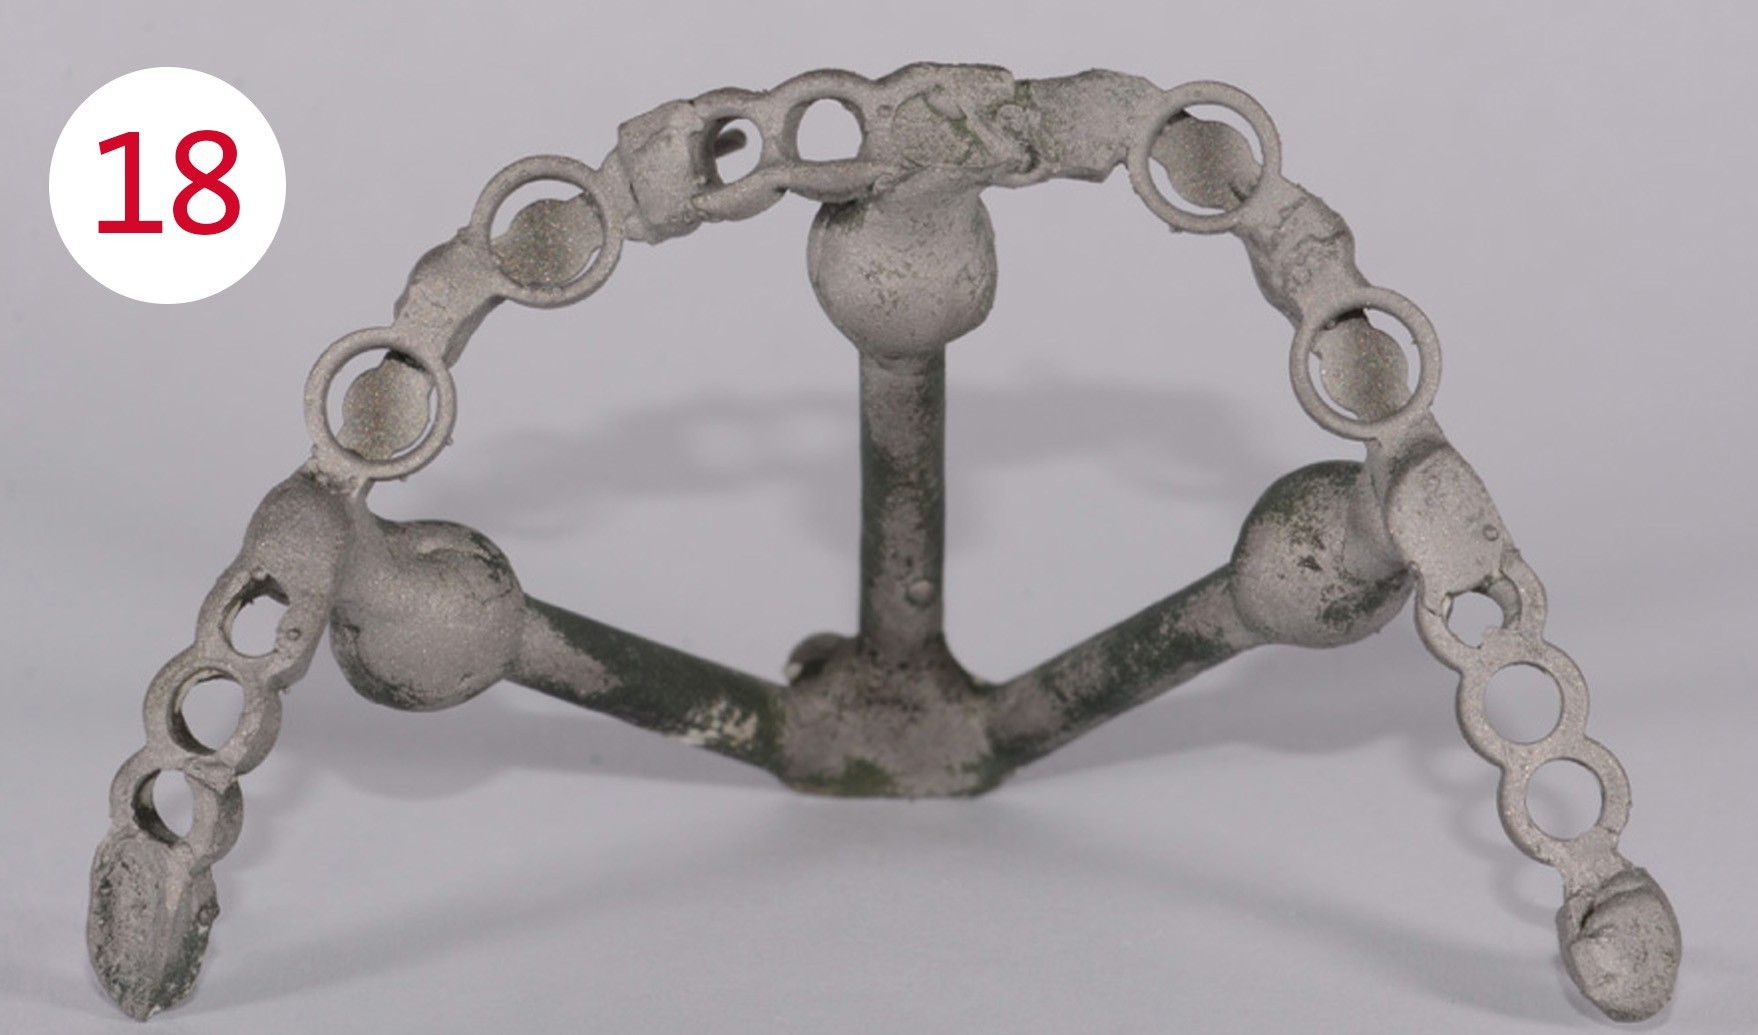
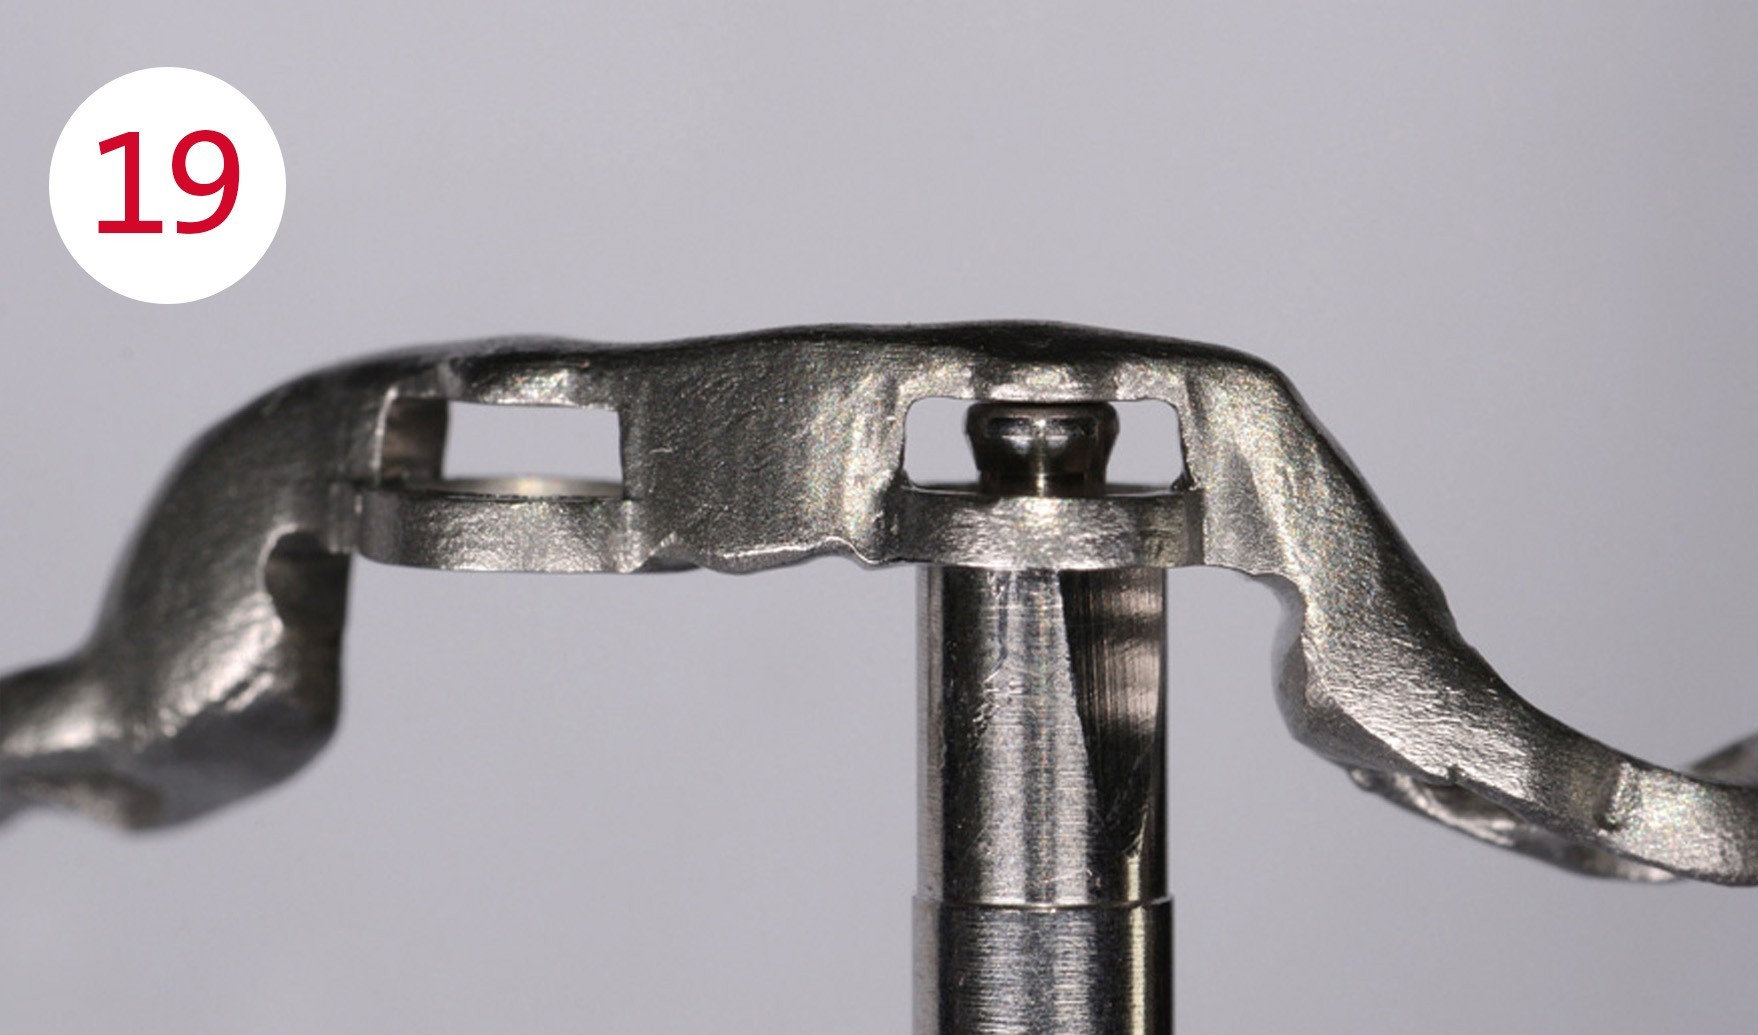
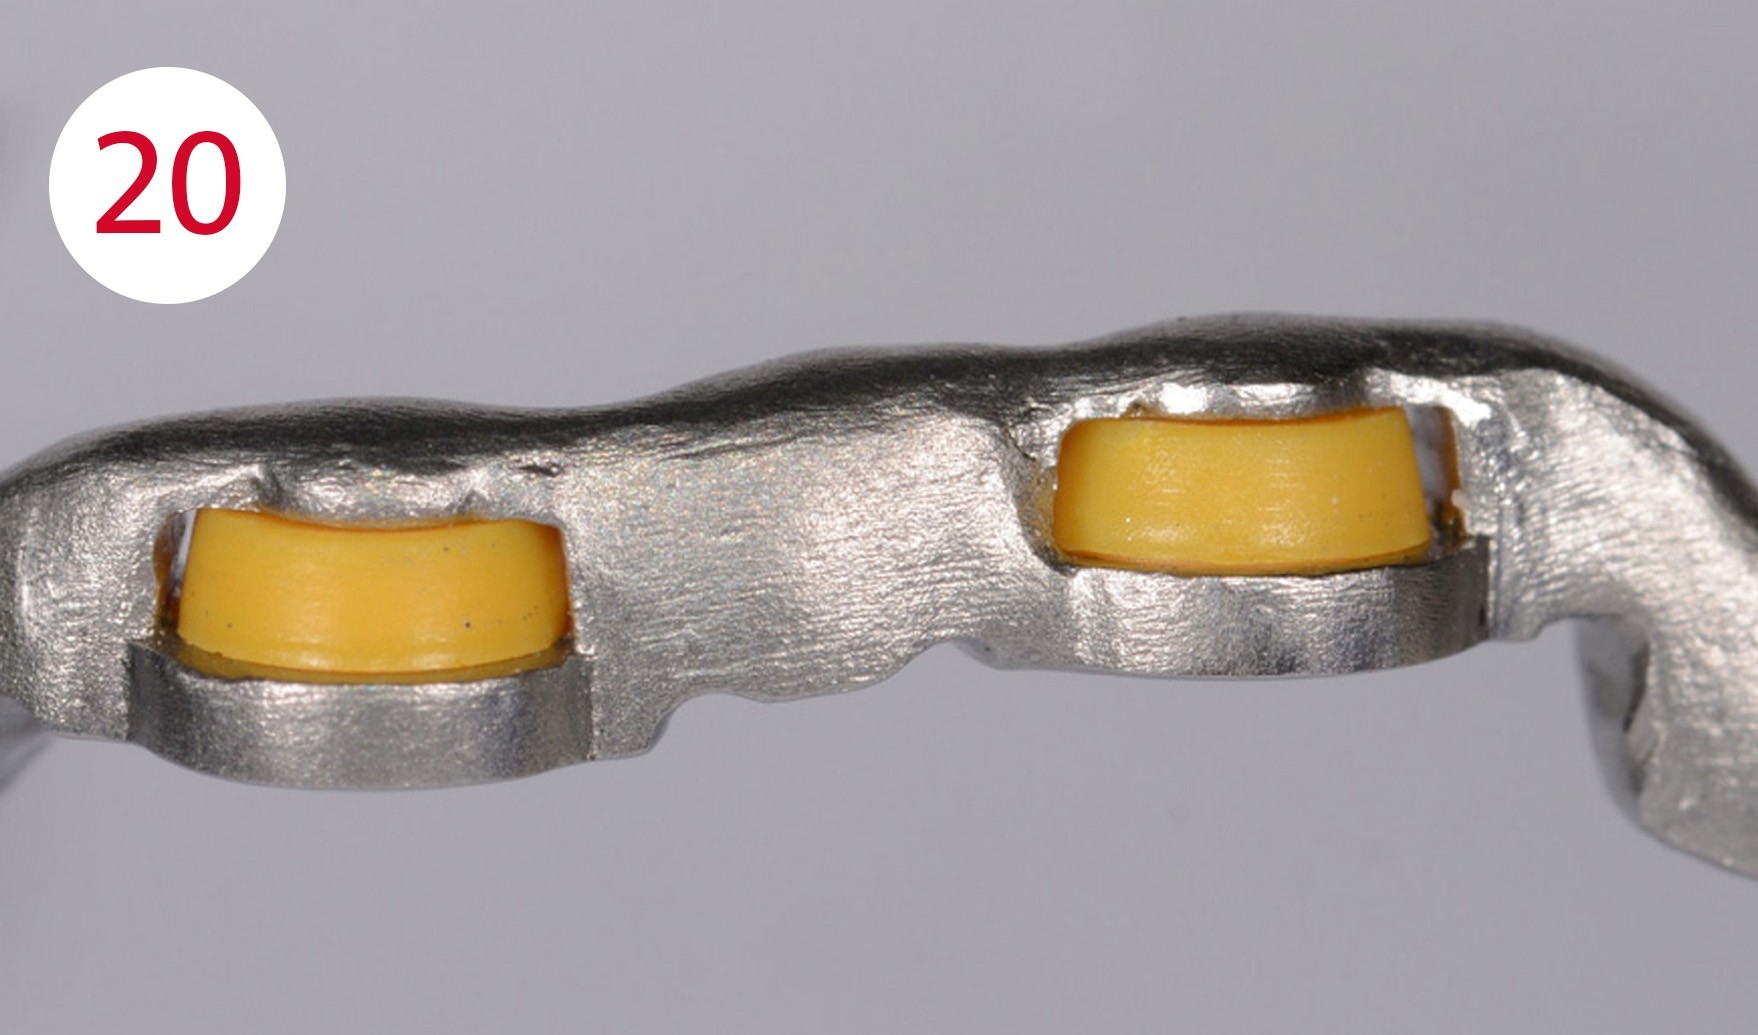
Although the patient was astoundingly fit for her age at the time of treatment, it can be expected that this will not always remain so, in other words, that the fine motor skills for inserting and removing the dentures and the ability for autonomous denture hygiene etc. could deteriorate. To assure durability and functionality right from the beginning, a reinforced framework was fabricated, thus blocking the retention caps using a classical NPM casting technique, to increase the fracture strength of the overdenture. To this purpose, the alveolar ridge was blocked out with wax platelets in the saddle region. 0.2 mm thick strips of Teflon were applied to the implant regions to ensure that the caps have sufficient motion tolerance versus the ball heads effective against the shearing forces. Spacer rings were applied to the balls on the model analogs as placeholders. onto which the corresponding OT housings (matrices) were mounted. This was followed by the positioning and adjustment of the finished pre-fabricated burnout acrylic components. The connections were modelled with casting wax and after removing the excess wax, the framework was ready for attaching the casting channels, casting was with NPM. After devestment, the framework was sandblasted, the lugs of the casting channels were removed and the transition areas cleaned. The precise fit of the matrices was checked with a ball head gauge inserted into the matrices. This check is best performed under a microscope. The plastic caps for the ball attachments (male parts) fit the framework torsion-free and flush.
Fig. 15-17: Reinforcement framework for the lower overdenture from pre-fabricated parts
Fig. 18: Framework cast from NPM
Fig. 19: Checking the caps
Fig. 20: Fit of ball heads
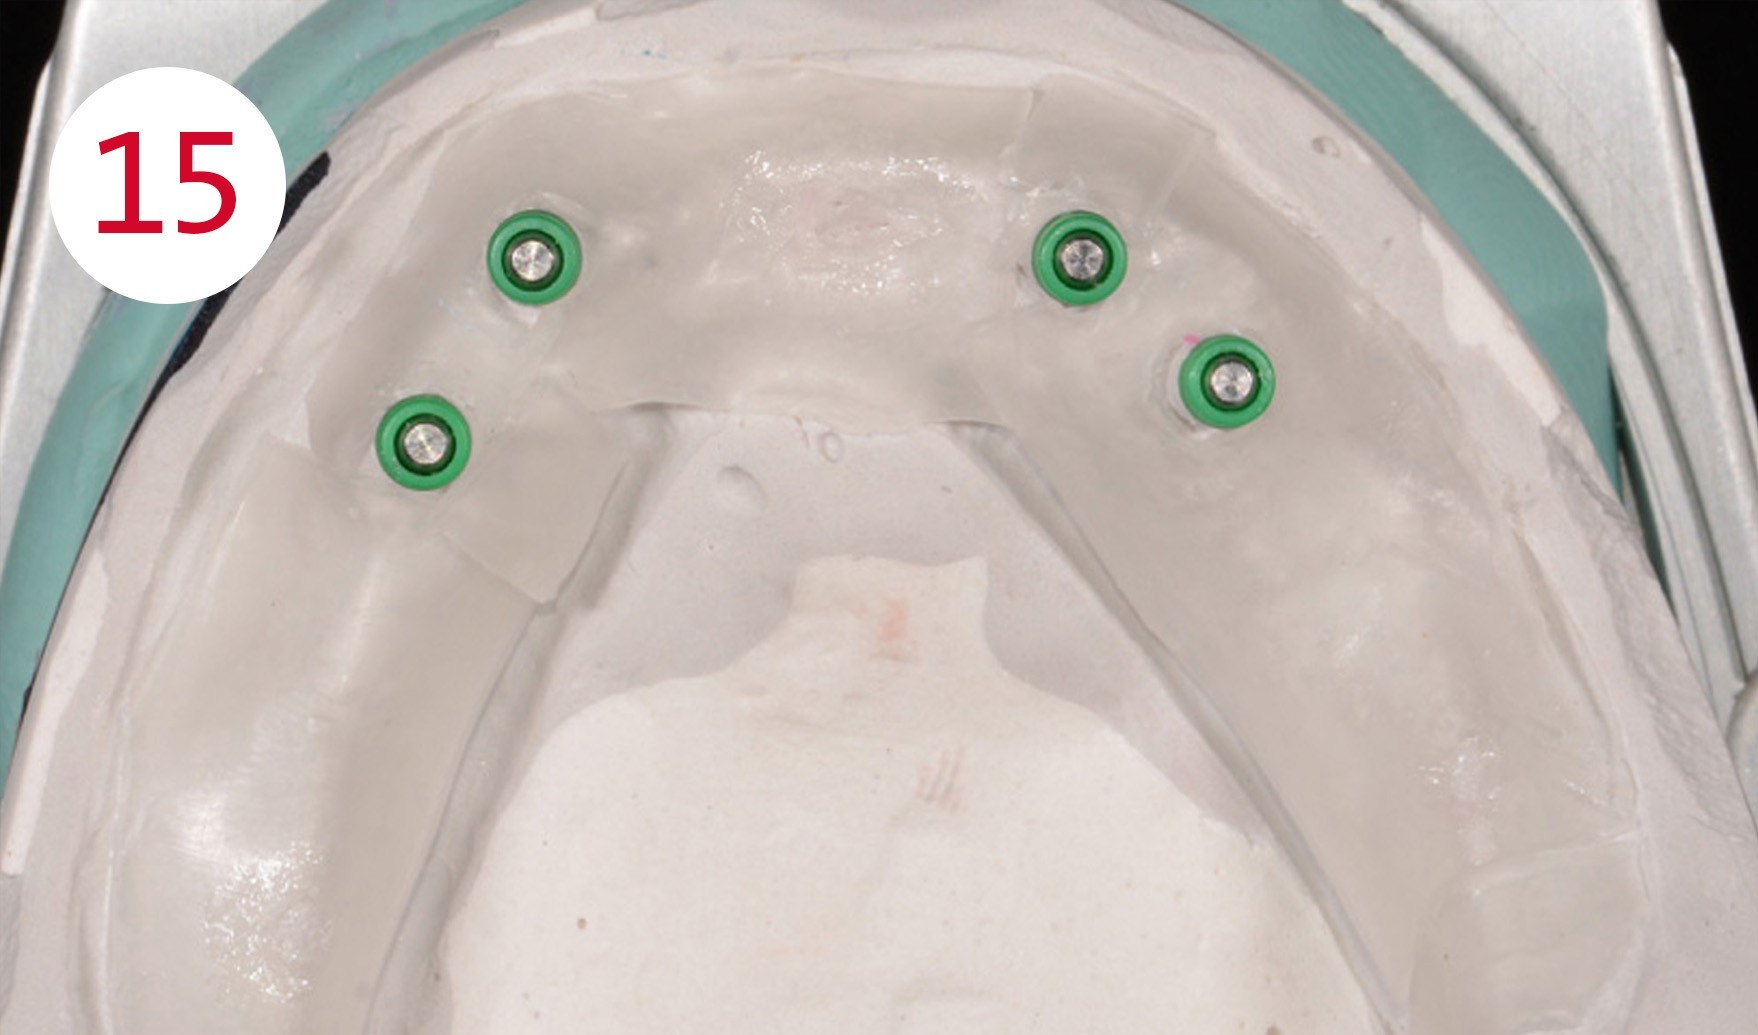
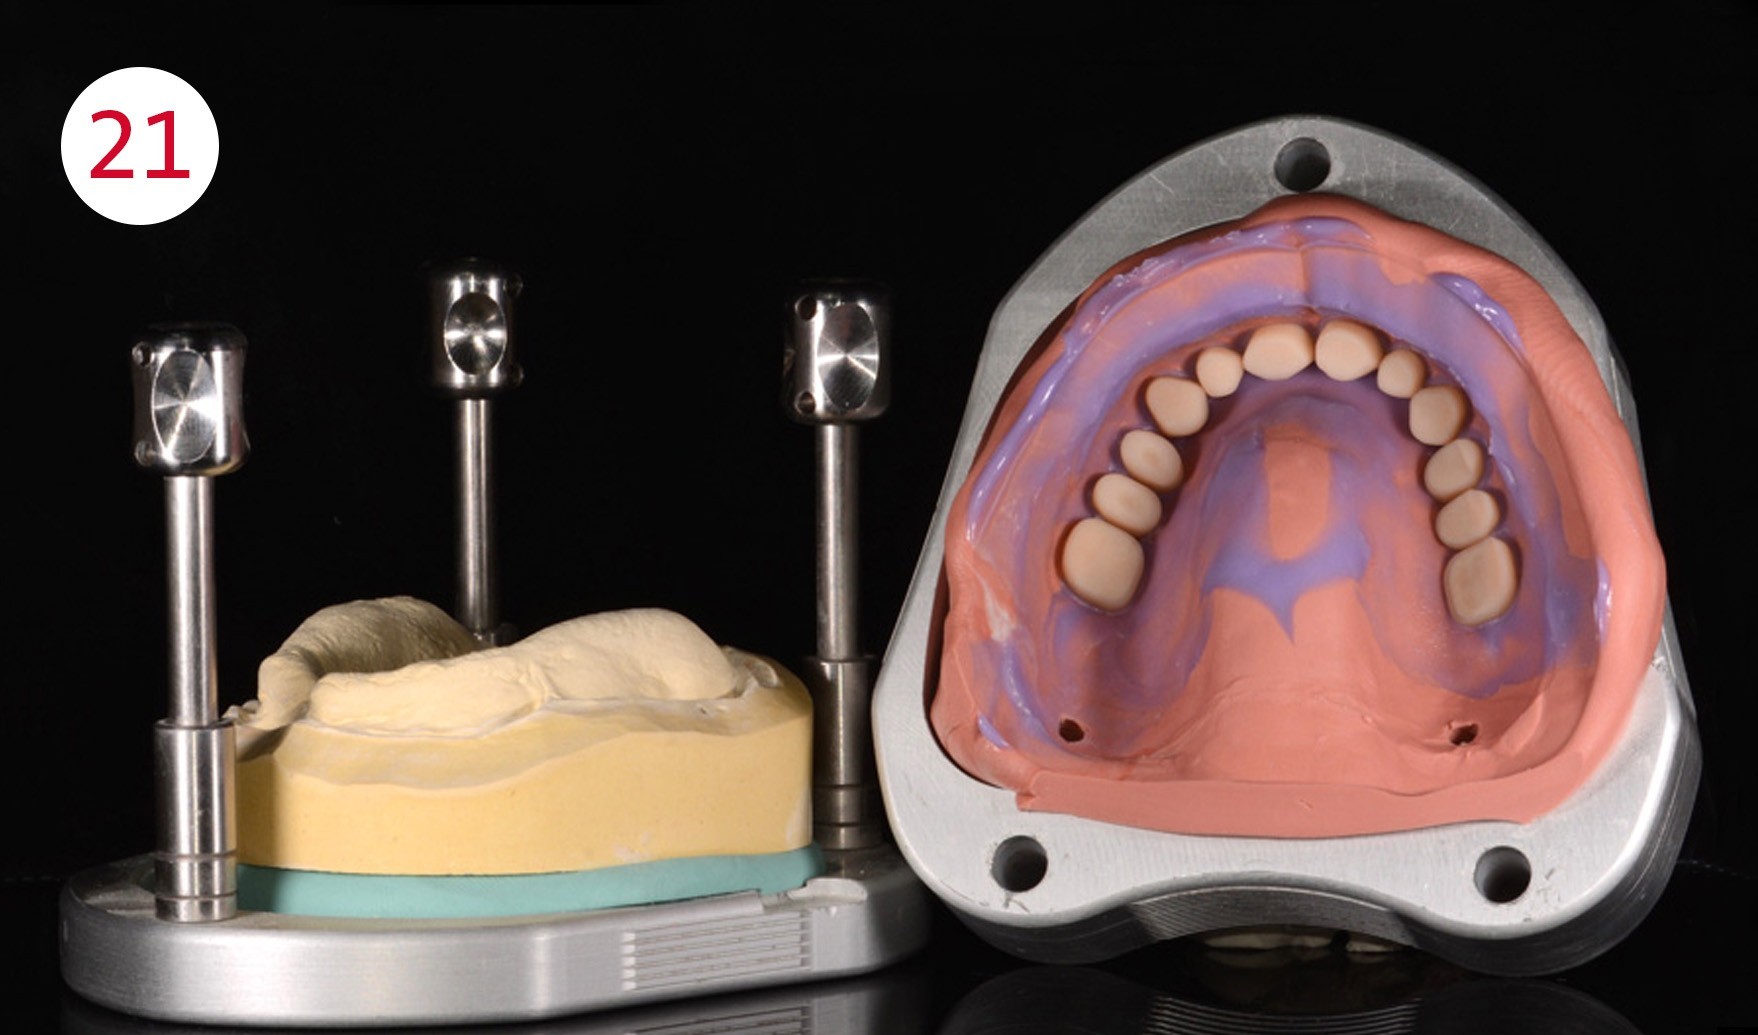
The framework construction was checked in situ for a tension-free fit and the spatial conditions for the replacement teeth were examined again. This was followed in the laboratory by completion of the upper and lower denture with acrylics in a vertical fixator. For color customization of the red esthetics, the shades of the Aesthetic Color Set Easy were used to reflect the naturalness of the gingiva and the gingival margin as wished by the patient. In terms of durability of colored gingival characterization in an oral environment, experience has shown the more elaborate insert molding technique to last longer. Re-occlusion was performed after polymerization and the models with the prostheses were reinserted into the articulator for this purpose. This was followed by final finishing, multi-stage polishing, cleaning and preparation for insertion.
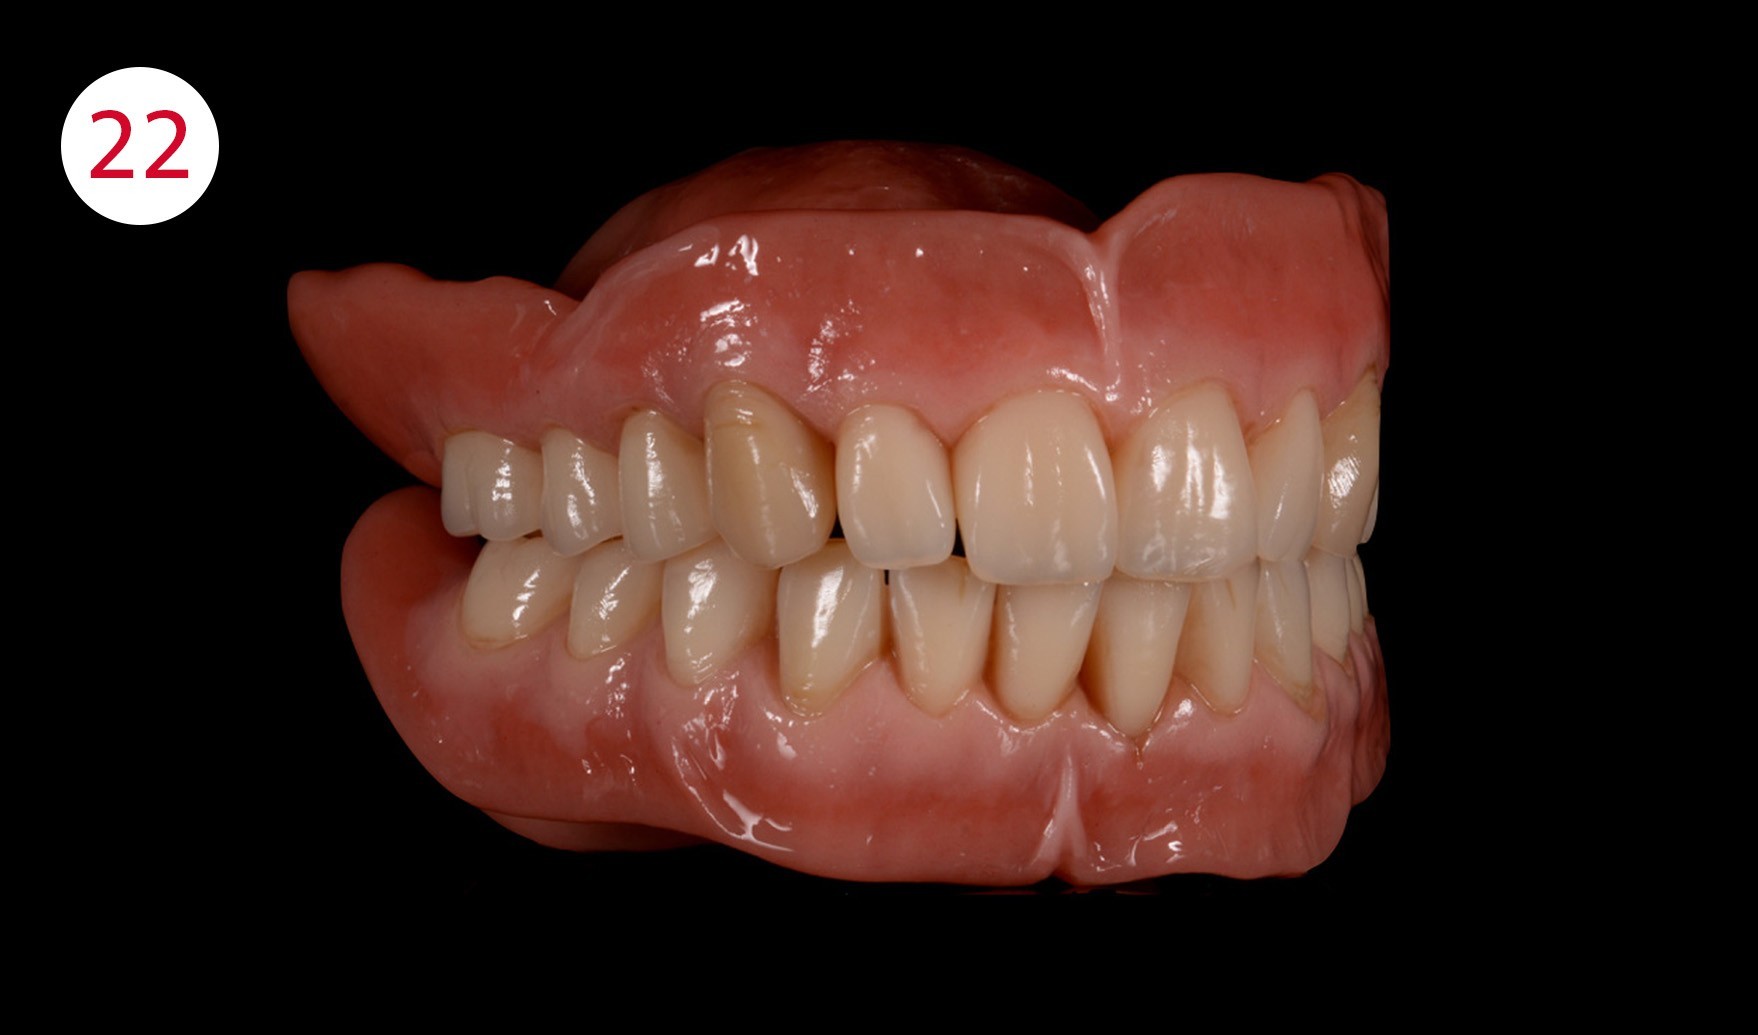
The vitality and cooperation of the patient, who wanted to have her expectations fulfilled, motivated the entire treatment team and made this restoration a far from everyday experience, at the end of which the inserted dentures proved more than satisfactory for all concerned – Ciao Bella.
Fig. 21: Completion in the vertical fixator
Fig. 22: The finished overdenture and overall look in detail
IMPORTANT / You can find the complete photographic material for this article in the PDF of the specialist articles, which can be downloaded below.
He attended the Institute »L. Dehon« Villaggio del Fanciullo in Bologna and received his diploma as dental technician in 1993/1994.
In February 2002, he became a partner in the dental laboratory Unilab of Foschi, Giunchi e Cattin snc in Ravenna, with a major focus on removable full dentures, overdentures and the Toronto Bridge. He attended numerous courses on full dentures to expand his knowledge on the various methods for removable dentures.
Speaker for Rhein '83 and speaker and course leader for CANDULOR.


